Hawaiian Guava Cake: Remarkable 8-Step Tropical Cake Recipe
A tropical paradise captured in a single dessert—a symphony of flavors that will transport you to the sunny shores of Hawaii with every bite. This remarkable cake celebrates the exotic fruits, vibrant colors, and irresistible sweetness of guava. It is a luscious and decadent treat that promises a culinary adventure like no other.
Ingredients
- Fresh guava puree
- All-purpose flour
- Baking powder
- Salt
- Unsalted butter
- Sugar
- Eggs
- Vanilla extract
- Milk
- Whipped cream
Directions
- Start by creating a smooth guava puree by blending fresh guava until it reaches a silky consistency. Strain the puree to remove any seeds or lumps, and set it aside for later use.
- In a bowl, combine the all-purpose flour, baking powder, and salt. Sift the dry ingredients together to ensure a homogeneous mixture that will give your cake a light and airy texture.
- In a separate bowl, cream together the unsalted butter and sugar until light and fluffy. This step is crucial for incorporating air into the batter, resulting in a tender and moist cake.
- Beat in the eggs, one at a time, into the butter-sugar mixture, ensuring each egg is fully incorporated before adding the next. Add vanilla extract for a hint of aromatic sweetness that complements the guava flavor.
Nutrition Facts
Table of Contents
Hawaiian Guava Cake
Welcome to the delightful world of Hawaiian Guava Cake! Imagine a tropical paradise captured in a single dessert—a symphony of flavors that will transport you to the sunny shores of Hawaii with every bite. This remarkable 8-step cake recipe is a celebration of exotic fruits, vibrant colors, and irresistible sweetness.
Guava, known for its distinct aroma and tropical essence, takes center stage in this luscious cake, offering a unique twist to traditional desserts. Whether you’re a seasoned baker or a novice in the kitchen, this recipe promises a culinary adventure like no other.
As you embark on this baking journey, you’ll uncover the rich cultural significance of guava in Hawaiian cuisine and how it adds a touch of island magic to this decadent treat. Get ready to indulge in a slice of paradise with each mouthwatering layer of this Hawaiian Guava Cake!
Join me as we explore the tantalizing flavors, textures, and aromas of this tropical masterpiece, and learn how to create a dessert that will leave your taste buds craving more.
Why You’ll Love This Recipe
Indulge in the best of both worlds with this Hawaiian Guava Cake—it’s not just a dessert; it’s a culinary experience. From its velvety texture to its burst of tropical flavors, this cake is a true crowd-pleaser that will have your guests asking for seconds.
One of the standout features of this recipe is its simplicity and ease of preparation. With just a few basic ingredients and straightforward instructions, you can whip up a show-stopping dessert that looks and tastes like it came straight from a professional bakery.
Furthermore, this recipe offers a delightful twist for those with a sweet tooth while being surprisingly light and airy. The natural sweetness of guava adds a refreshing touch to the cake, making it a perfect choice for any occasion, whether it’s a casual family gathering or a festive celebration.
For those conscious of their dietary choices, this recipe can be easily adapted to accommodate various preferences, such as using gluten-free flour or dairy-free alternatives. Embrace the versatility of this Hawaiian Guava Cake and make it your own!
Ingredients
Prepare to embark on your baking adventure by gathering the following ingredients:
– Fresh guava puree
– All-purpose flour
– Baking powder
– Salt
– Unsalted butter
– Sugar
– Eggs
– Vanilla extract
– Milk
– Whipped cream (for topping)
Feel free to customize this recipe based on your preferences. You can substitute the all-purpose flour with a gluten-free alternative or experiment with different types of sweeteners to suit your taste.
Step-by-Step Instructions
Step 1: Prepare the Guava Puree
Start by creating a smooth guava puree by blending fresh guava until it reaches a silky consistency. Strain the puree to remove any seeds or lumps, and set it aside for later use.
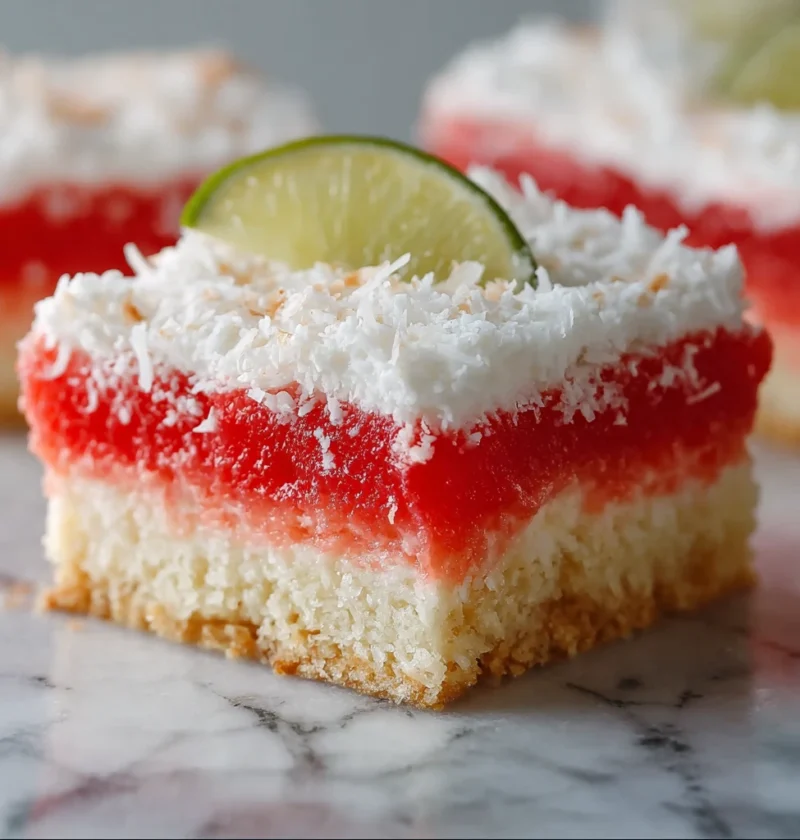
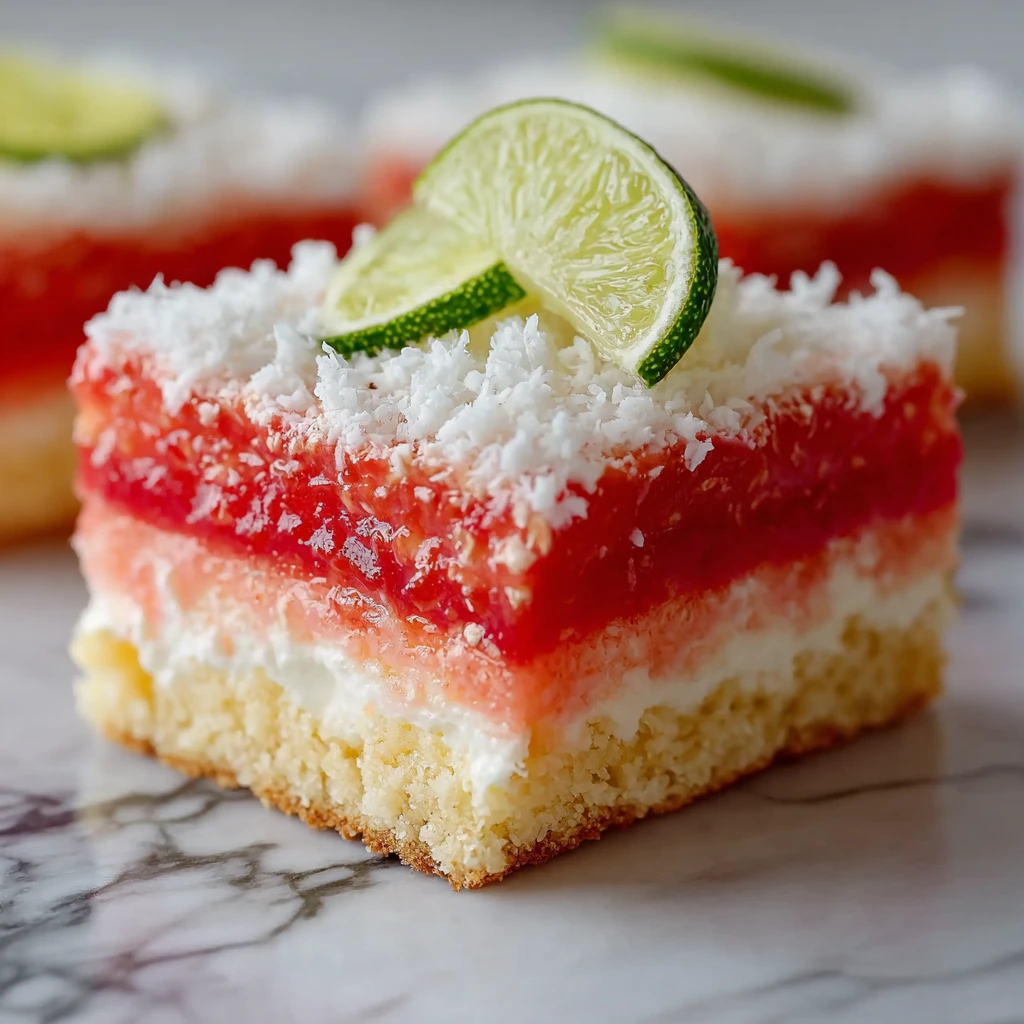
Pro Tip: For an extra burst of flavor, consider adding a squeeze of lime juice to the guava puree for a tangy twist.
Step 2: Mix the Dry Ingredients
In a bowl, combine the all-purpose flour, baking powder, and salt. Sift the dry ingredients together to ensure a homogeneous mixture that will give your cake a light and airy texture.
Cooking Tip: Avoid overmixing the dry ingredients to prevent the cake from becoming dense.
Step 3: Cream the Butter and Sugar
In a separate bowl, cream together the unsalted butter and sugar until light and fluffy. This step is crucial for incorporating air into the batter, resulting in a tender and moist cake.
Expert Tip: Use room temperature butter for easier creaming and a smoother batter consistency.
Step 4: Add Eggs and Vanilla
Beat in the eggs, one at a time, into the butter-sugar mixture, ensuring each egg is fully incorporated before adding the next. Add vanilla extract for a hint of aromatic sweetness that complements the guava flavor.
Pro Tip: To prevent curdling, bring the eggs to room temperature before adding them to the batter.
Expert Tips for Success
For the perfect Hawaiian Guava Cake, follow these expert tips:
– Use fresh guava for the puree to capture the authentic tropical taste.
– Allow the cake to cool completely before topping it with whipped cream to prevent melting.
– Experiment with different garnishes like toasted coconut or fresh fruit for a decorative touch.
– Store any leftovers in an airtight container in the refrigerator to preserve freshness and flavor.
Variations and Substitutions
Get creative with your Hawaiian Guava Cake by trying out these variations:
– Swap the guava puree with mango or passion fruit for a different tropical twist.
– Use coconut milk instead of regular milk for a more pronounced island flavor.
– Incorporate macadamia nuts or shredded pineapple into the batter for added texture and crunch.
– For a dairy-free option, use coconut oil or a plant-based butter substitute in place of butter.
Serving Suggestions
Enhance the experience of enjoying your Hawaiian Guava Cake with these serving suggestions:
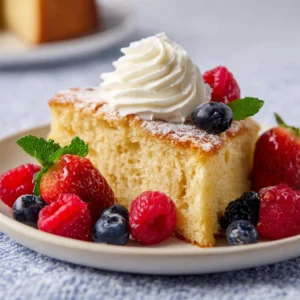
– Serve each slice with a dollop of freshly whipped cream and a sprinkle of toasted coconut.
– Pair the cake with a refreshing tropical fruit salad or a scoop of coconut ice cream.
– Enjoy a slice alongside a cup of freshly brewed Hawaiian coffee or a fruity cocktail for a true island vibe.
FAQs
Q: Can I use canned guava puree instead of fresh guava?
A: While fresh guava puree is recommended for the best flavor, you can use canned guava puree as a convenient alternative. Just make sure to choose a high-quality product without added sugars or preservatives.
Q: How long will the Hawaiian Guava Cake stay fresh?
A: When stored properly in the refrigerator, the cake can stay fresh for up to 3-4 days. Be sure to cover it tightly to prevent it from drying out.
Q: Can I freeze the cake for later consumption?
A: Yes, you can freeze the cake for up to 2-3 months. Wrap it securely in plastic wrap and aluminum foil before freezing, and thaw it in the refrigerator before serving.
Final Thoughts
Congratulations on mastering the art of creating this exquisite Hawaiian Guava Cake! With its vibrant flavors, tropical charm, and easy preparation, this recipe is sure to become a favorite among your family and friends.
So, why wait? Gather your ingredients, preheat your oven, and let the enchanting aroma of guava fill your kitchen as you bake this delectable treat. Indulge in a slice of paradise with each bite, and savor the magic of Hawaiian cuisine in every mouthwatering bite!
Call to Action
Ready to embark on your Hawaiian culinary adventure? Try out this Hawaiian Guava Cake recipe today and share your delightful creations with us. Let your taste buds journey to the tropical paradise of Hawaii with this sensational dessert!