
Introduction
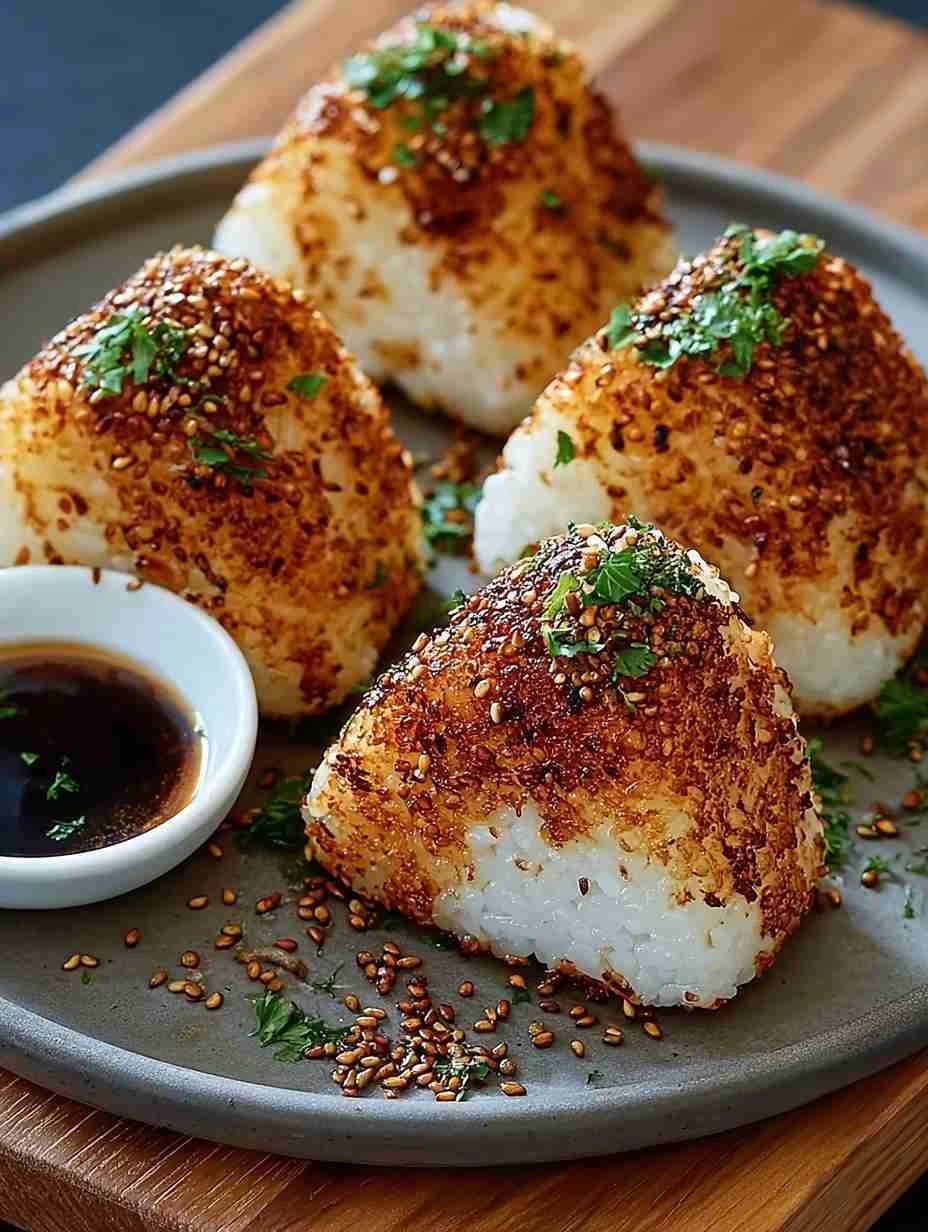
Imagine biting into a perfectly crispy yaki onigiri croustillants, feeling the delightful crunch give way to a fluffy, flavorful filling. This iconic Japanese snack has been winning hearts worldwide with its irresistible combination of textures and flavors. In this article, we delve into the art of creating the best crispy yaki onigiri online, exploring its origins, variations, and serving suggestions.
Why You’ll Love This Recipe
Our crispy yaki onigiri recipe offers a delightful twist on the traditional Japanese rice ball. The crispy exterior adds a satisfying crunch to each bite, making it a perfect snack or party appetizer. By making your own homemade crispy yaki onigiri, you can customize the fillings to suit your taste preferences. Additionally, this recipe can be adapted to be vegan and gluten-free, catering to a wide range of dietary needs.
Ingredients
For this crispy yaki onigiri croustillants recipe, you will need the following ingredients:
– Cooked Japanese short-grain rice
– Nori seaweed sheets
– Soy sauce
– Optional fillings such as pickled plum, grilled salmon, or tofu
Feel free to experiment with different fillings to create your own unique crispy yaki onigiri variations.
Step-by-Step Instructions
1. Take a small portion of cooked rice and shape it into a triangle or ball.
2. Insert your chosen filling into the center of the rice ball.
3. Wrap the rice ball with a strip of nori seaweed.
4. Heat a non-stick pan and place the wrapped rice ball, pressing it gently to flatten slightly.
5. Cook until the exterior turns golden and crispy, then flip to crisp the other side.
6. Remove from the pan and let it cool slightly before serving.
Pro Tip: To achieve an extra crispy texture, brush soy sauce on the surface of the rice ball before cooking.

Expert Tips for Success
– Use freshly cooked rice for the best texture.
– Apply gentle pressure when shaping the rice balls to avoid compacting the grains too much.
– Adjust the heat to prevent burning the exterior while ensuring the filling is heated through.
– Experiment with different fillings and seasonings to create unique flavor combinations.
Variations and Substitutions
For a vegan option, consider filling the yaki onigiri with seasoned tofu or sautéed vegetables. Those following a gluten-free diet can use tamari instead of soy sauce. You can also explore adding crunchy toppings like sesame seeds or furikake for additional flavor and texture.
Serving Suggestions
Crispy yaki onigiri croustillants are best enjoyed fresh and hot. Serve them with a side of pickled vegetables or miso soup for a complete Japanese meal experience. For a party or gathering, arrange the crispy yaki onigiri on a platter with dipping sauces like ponzu or spicy mayo for added excitement.
FAQs
Q: Can I make crispy yaki onigiri ahead of time?
A: While they are best enjoyed fresh, you can reheat crispy yaki onigiri in a toaster oven to restore some of the crunch.
Q: Are there any low-calorie fillings for crispy yaki onigiri?
A: Opt for fillings like seasoned vegetables or lean protein to keep the calorie count in check.
Final Thoughts
Indulge in the delightful crispiness of yaki onigiri croustillants with our easy-to-follow recipe. Whether you’re a fan of traditional Japanese flavors or looking to add a new snack option to your repertoire, these crispy treats are sure to satisfy. Get creative with fillings, sauces, and toppings to make your crispy yaki onigiri truly unique and enjoy the crunchy goodness with every bite!

Crispy Yaki Onigiri Croustillants: Your New Favorite Snack
Enjoy the delightful crispiness of yaki onigiri croustillants with this easy-to-follow recipe. The crispy exterior adds a satisfying crunch to each bite, making it a perfect snack or party appetizer. Customize the fillings to suit your taste preferences and explore different variations to create unique flavor combinations.
Ingredients
- 2 cups cooked Japanese short-grain rice
- 4 nori seaweed sheets
- 2 tablespoons soy sauce
- Optional fillings such as pickled plum, grilled salmon, or tofu
Directions
- Take a small portion of cooked rice and shape it into a triangle or ball.
- Insert your chosen filling into the center of the rice ball.
- Wrap the rice ball with a strip of nori seaweed.
- Heat a non-stick pan and place the wrapped rice ball, pressing it gently to flatten slightly.
- Cook until the exterior turns golden and crispy, then flip to crisp the other side.
- Remove from the pan and let it cool slightly before serving.
- Pro Tip: To achieve an extra crispy texture, brush soy sauce on the surface of the rice ball before cooking.