Introduction
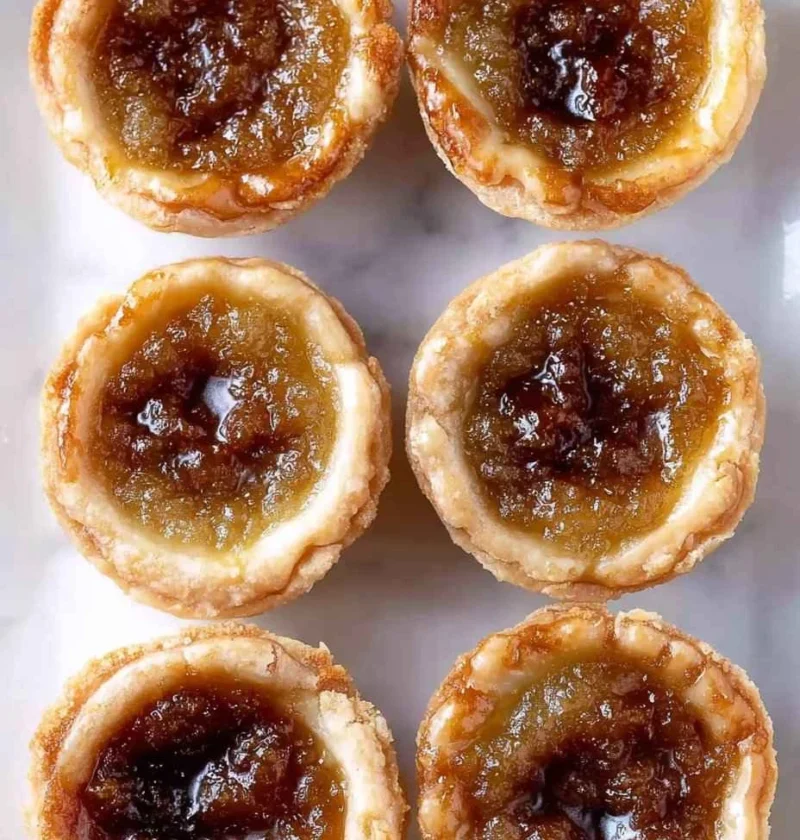
Indulging in the sweet, gooey goodness of Grandma’s butter tarts is a cherished holiday tradition for many. The aroma of buttery pastry mingling with the rich filling of these delectable treats never fails to evoke warm memories of festive gatherings and cozy family moments. In this article, we delve into the art of creating the best butter tart recipe grandma would be proud of, exploring the secrets behind these homemade holiday butter tarts that have stood the test of time.
Passed down through generations, the old fashioned butter tarts recipe holds a special place in the hearts of Canadians and dessert enthusiasts worldwide. The irresistible combination of flaky crust and sweet, sticky filling makes these treats a must-have during the holiday season. Let’s embark on a culinary journey to uncover the magic of easy grandma’s butter tarts and discover why they are a timeless classic that continues to captivate taste buds.
With their roots deeply embedded in traditional Canadian cuisine, butter tarts are more than just a dessert—they are a symbol of culinary heritage and a source of comfort during the festive period. Join us as we explore the nuances of crafting these delectable treats and learn how to infuse your holiday baking with the essence of this beloved dessert.
Prepare to be transported to a world of buttery bliss as we unravel the secrets of making grandma’s butter tarts, taking you on a culinary adventure filled with sweetness, nostalgia, and the joy of sharing homemade delights with loved ones.
Why You’ll Love This Recipe
Embracing the best features of easy grandma’s butter tarts, this recipe offers a delightful blend of simplicity and indulgence. The buttery pastry, paired with the luscious filling, creates a symphony of flavors and textures that will leave you craving more. Whether you’re a seasoned baker or a novice in the kitchen, these homemade holiday butter tarts are sure to win you over with their irresistible charm.
Moreover, the classic butter tarts high CPC ensures that every bite is a fulfilling experience, satisfying your sweet tooth and warming your soul. The versatility of this recipe allows you to customize the filling according to your preferences, making it a perfect choice for those seeking a personalized touch in their holiday desserts.
Experience the joy of recreating grandma’s secret butter tarts recipe in your own kitchen, and witness how a simple dessert can create lasting memories and bring people together. From low competition butter tarts to innovative variations, this recipe offers a gateway to a world of delectable possibilities that cater to every taste and occasion.
Get ready to elevate your holiday baking with this timeless classic that embodies the essence of festive cheer and culinary excellence—an experience that transcends generations and celebrates the art of homemade goodness.
Ingredients
For the pastry:
– All-purpose flour
– Unsalted butter
– Cold water
– Salt
For the filling:
– Brown sugar
– Eggs
– Butter
– Vanilla extract
– Optional: Raisins, walnuts, or pecans
Substitutions:
– Whole wheat flour or gluten-free flour for a healthier twist
– Coconut oil for a dairy-free alternative
– Maple syrup as a substitute for brown sugar
– Almond extract for a unique flavor profile
Step-by-Step Instructions
Pastry Preparation:
1. In a mixing bowl, combine the all-purpose flour and salt. Cut in the unsalted butter until the mixture resembles coarse crumbs.
2. Gradually add cold water and mix until the dough comes together. Shape the dough into a disc, wrap it in plastic wrap, and refrigerate for 30 minutes.
3. Roll out the chilled dough on a floured surface and cut out circles to fit your tart pans. Press the dough into the pans and chill while preparing the filling.
Filling Creation:
1. In a bowl, mix together brown sugar, melted butter, eggs, and vanilla extract until well combined.
2. For a traditional touch, add raisins, walnuts, or pecans to the filling mixture according to your preference.
3. Spoon the filling into the prepared tart shells, filling each about three-quarters full.
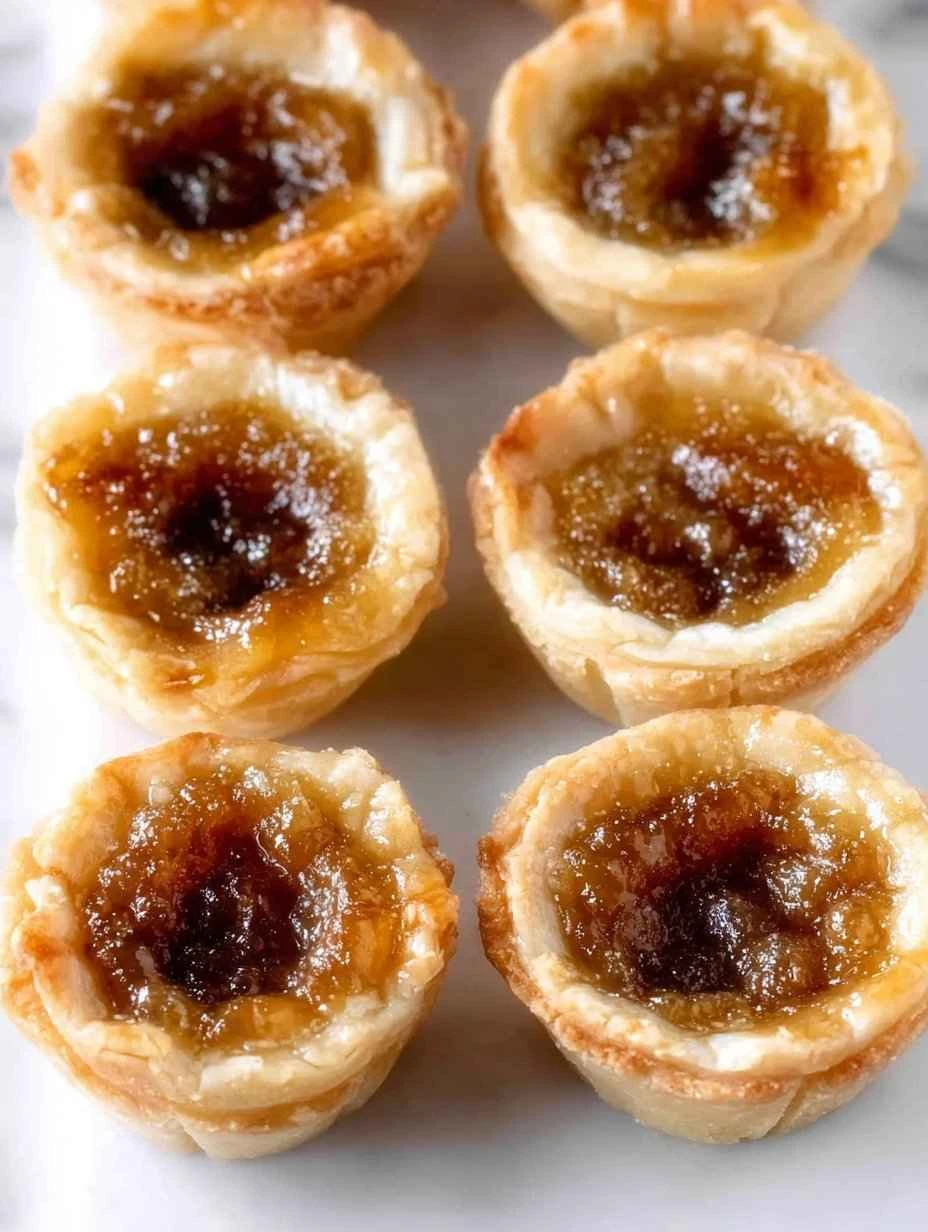
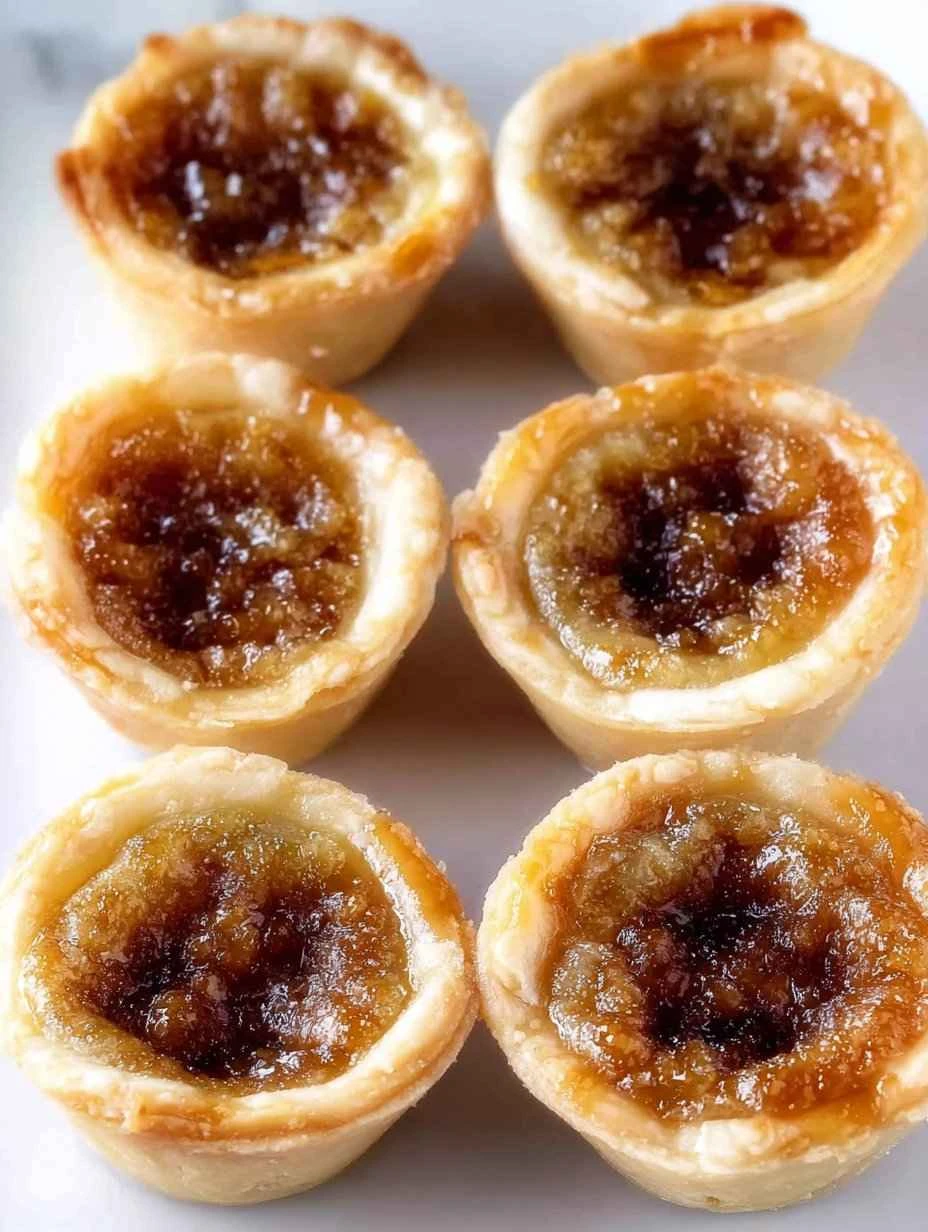
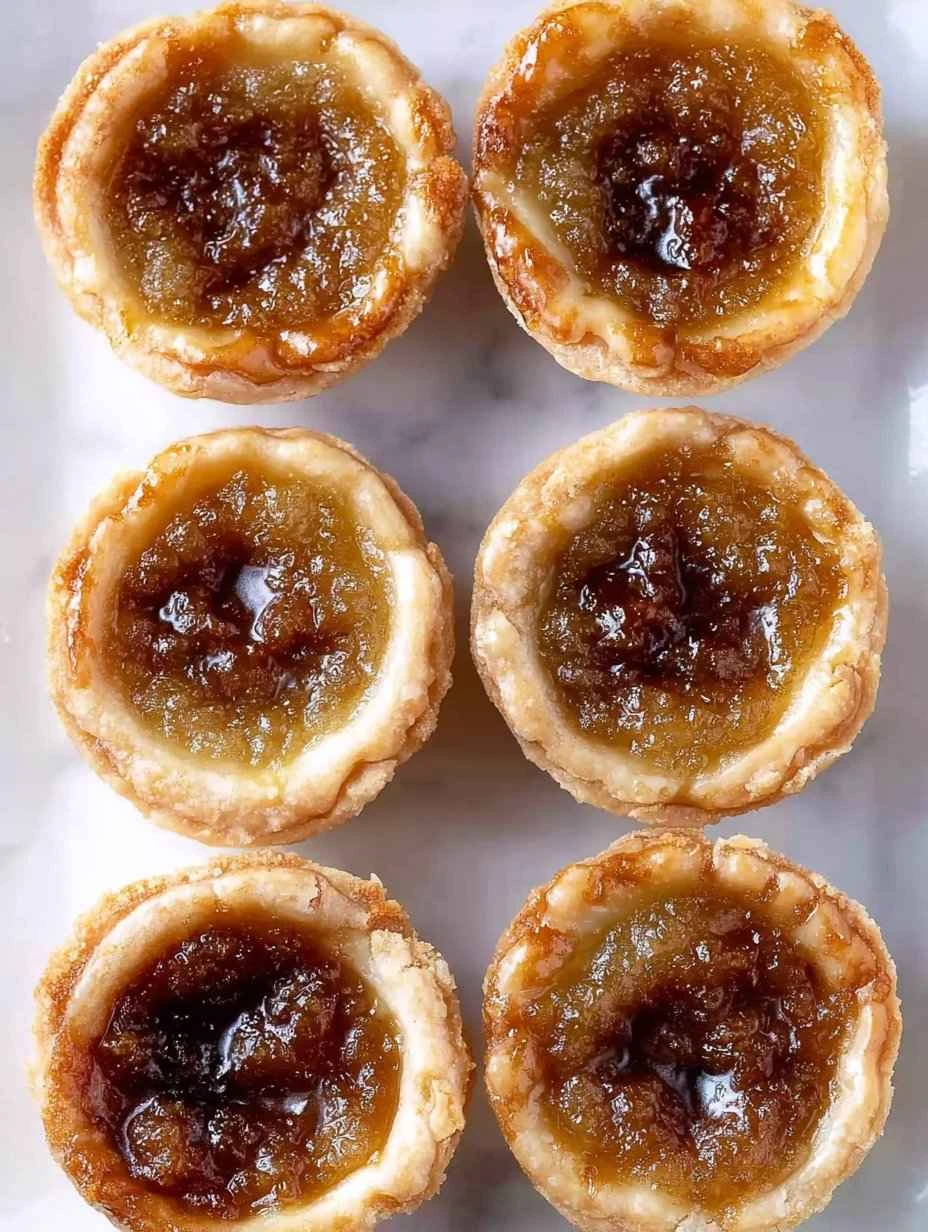
4. Bake the butter tarts in a preheated oven until the pastry is golden and the filling is set, usually around 15-20 minutes.
5. Let the tarts cool before removing them from the pans and serving them at room temperature or slightly warmed for a gooey delight.
Expert Tips for Success
To achieve the perfect balance of flavors and textures in your butter tarts, consider the following tips:
– Use chilled butter and cold water for the pastry to ensure a flaky crust.
– Experiment with different fillings such as chocolate chips or dried fruits for a creative twist.
– Preheat your oven adequately to ensure even baking and a golden crust.
– Avoid overfilling the tart shells to prevent the filling from overflowing during baking.
– Store any leftover butter tarts in an airtight container at room temperature for up to 3 days or freeze for longer shelf life.
Variations and Substitutions
Ingredient Swaps:
– Swap the brown sugar for honey or agave nectar for a natural sweetener alternative.
– Replace the vanilla extract with almond or rum extract for a unique flavor profile.
– Experiment with different nuts such as almonds, pistachios, or hazelnuts for added crunch and flavor.
Filling Variations:
– Try adding a tablespoon of maple syrup to the filling for a hint of sweetness and depth of flavor.
– Incorporate citrus zest or spices like cinnamon and nutmeg for a seasonal twist on the classic recipe.
– For a decadent touch, drizzle melted chocolate over the baked tarts and sprinkle with sea salt for a gourmet finish.
Serving Suggestions
Enjoy these butter tarts warm or at room temperature, paired with a dollop of whipped cream or a scoop of vanilla ice cream for a delightful contrast of temperatures and textures. Serve alongside a steaming cup of coffee or a glass of cold milk to enhance the indulgent experience.
For a festive touch, dust the tarts with powdered sugar or garnish with fresh berries before serving to add a burst of color and freshness to the presentation. These butter tarts make a perfect dessert for holiday gatherings, potlucks, or cozy evenings by the fireplace, creating a sense of warmth and togetherness with every bite.
FAQs
Why are my butter tarts not setting?
If your butter tarts are not setting, it could be due to underbaking or using too much liquid in the filling. Ensure that the tarts are baked until the filling is firm yet slightly jiggly in the center, allowing them to set as they cool.
Can I freeze butter tarts?
Absolutely! Butter tarts freeze well and can be stored in an airtight container for up to three months. Simply thaw them at room temperature or reheat in the oven for a warm, gooey treat anytime.
Final Thoughts
As you embark on your butter tart-making journey, remember that the essence of this beloved dessert lies not just in its taste but in the joy of creating something special for your loved ones. Whether you follow the classic recipe or experiment with unique variations, each butter tart you make carries the warmth and love of homemade goodness.
Embrace the holiday spirit with a batch of irresistible butter tarts that pay homage to grandma’s secret recipe while adding your own creative flair. Let the aroma of butter and sugar fill your kitchen, the laughter of family and friends echo in the air, and the taste of nostalgia linger on your palate, making every bite a moment to cherish.
Get ready to savor the magic of homemade butter tarts—a holiday classic that transcends time and trends, bringing people together one delicious bite at a time. Share the joy, share the sweetness, and create memories that will last a lifetime with this iconic dessert that embodies the true spirit of the festive season.
Irresistible Grandma’s Butter Tarts: A Holiday Classic!
Indulge in the sweet, gooey goodness of grandma’s butter tarts with this cherished holiday recipe. The buttery pastry and rich filling combine to create a delectable treat that evokes warm memories of festive gatherings and cozy family moments.
Ingredients
- 2 cups all-purpose flour
- 1 cup unsalted butter
- 1/4 cup cold water
- 1/4 teaspoon salt
- 1 1/2 cups brown sugar
- 2 eggs
- 1/2 cup melted butter
- 1 teaspoon vanilla extract
- Optional: Raisins, walnuts, or pecans
Directions
- In a mixing bowl, combine the all-purpose flour and salt. Cut in the unsalted butter until the mixture resembles coarse crumbs.
- Gradually add cold water and mix until the dough comes together. Shape the dough into a disc, wrap it in plastic wrap, and refrigerate for 30 minutes.
- Roll out the chilled dough on a floured surface and cut out circles to fit your tart pans. Press the dough into the pans and chill while preparing the filling.
- In a bowl, mix together brown sugar, melted butter, eggs, and vanilla extract until well combined.
- For a traditional touch, add raisins, walnuts, or pecans to the filling mixture according to your preference.
- Spoon the filling into the prepared tart shells, filling each about three-quarters full.
- Bake the butter tarts in a preheated oven until the pastry is golden and the filling is set, usually around 15-20 minutes.
- Let the tarts cool before removing them from the pans and serving them at room temperature or slightly warmed for a gooey delight.