
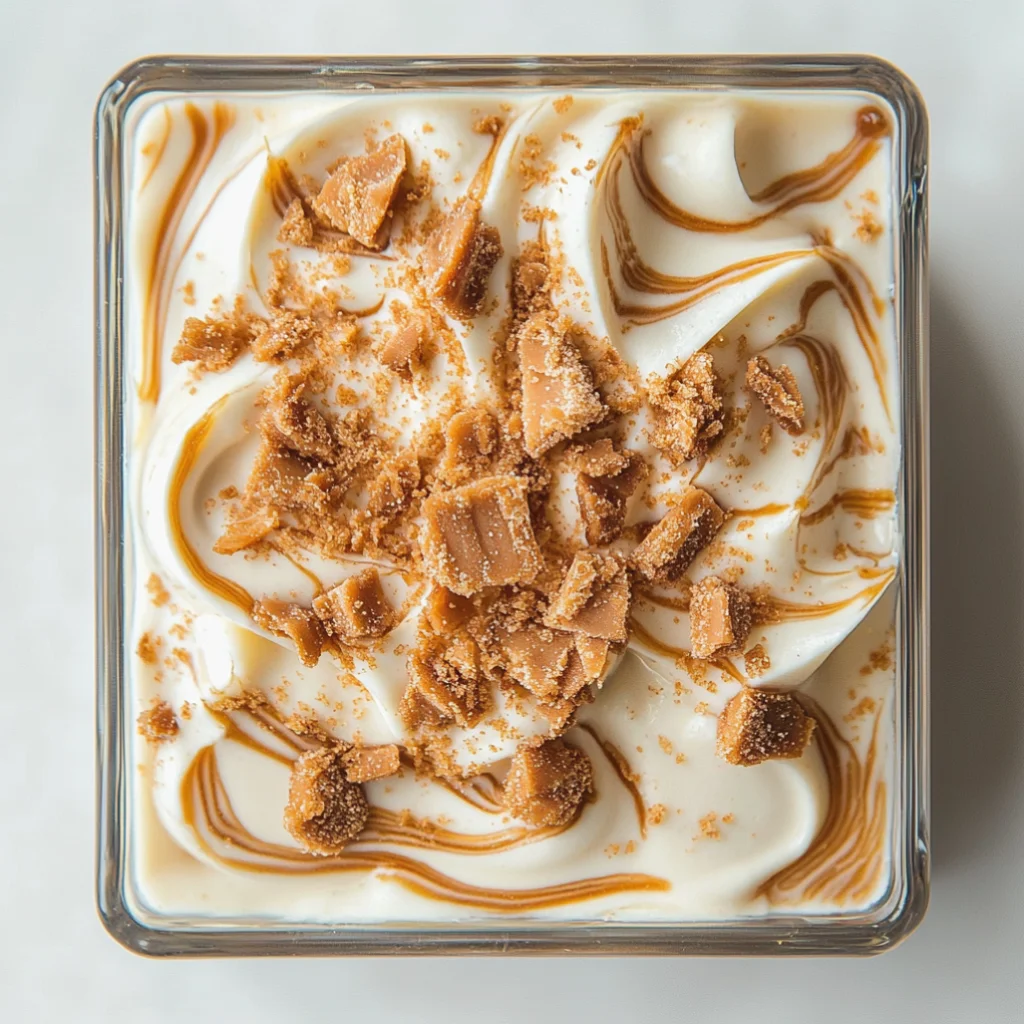
Indulging in a creamy, homemade dessert doesn’t get easier or more delightful than with this Decadent No-Churn Biscoff Ice Cream. If you’re a fan of the sweet, caramelized flavors of Biscoff cookies, this recipe will quickly become your go-to summer treat. You don’t need an ice cream maker to whip up this luscious dessert—just a few simple ingredients and a little time in your freezer. With its velvety texture and irresistible Biscoff flavor, this ice cream is perfect for hot days or any time you crave a sweet treat that feels truly indulgent. Whether it’s a casual family gathering or a fancy dinner party, this easy no-churn ice cream recipe will impress your guests and satisfy your sweet tooth. The combination of the creamy base with the crunchy bits of Biscoff cookies creates a delightful contrast that makes every scoop a little piece of heaven. The beauty of this recipe lies not only in its simplicity but also in its ability to evoke the nostalgia of enjoying Biscoff cookies with coffee. Each bite transports you to a comforting place, making it an ideal choice for any occasion. The comforting flavors and texture in every scoop are reminiscent of those cherished moments spent dunking Biscoff cookies into your afternoon coffee.
Ingredients
- Base:
- 2 cups heavy cream, preferably chilled for best whipping results. Using heavy cream ensures a rich, creamy texture that mimics traditional ice cream. The cold temperature helps the cream whip more easily, resulting in a fluffier base.
- 1 cup sweetened condensed milk, which adds sweetness and creaminess. This ingredient is crucial for achieving the right consistency without the need for an ice cream maker. The condensed milk not only sweetens the mix but also contributes to the smooth mouthfeel that makes this ice cream so decadent.
- 1 teaspoon vanilla extract, to enhance the overall flavor and bring out the sweetness of the cream and Biscoff. The vanilla adds a warm, aromatic note that perfectly complements the caramel tones of the Biscoff cookie butter.
- Biscoff Flavor:
- 1 cup Biscoff cookie butter, a rich spread that captures the essence of Biscoff cookies. It provides a deep, caramel-like flavor that permeates the ice cream. This ingredient is key in making the ice cream truly decadent, as it infuses every bite with the distinct taste of Biscoff.
- 1 cup crushed Biscoff cookies (about 8-10 cookies), for that extra crunch and flavor. These cookie pieces will create a delightful texture contrast in the creamy base. The crunchy bits not only enhance the flavor but also provide a satisfying surprise with each scoop.
- Toppings (optional):
- Extra crushed Biscoff cookies for garnish, providing a delightful crunch on top. This not only adds visual appeal but also enhances the cookie experience, making each serving visually inviting.
- Chocolate shavings or syrup for drizzling, which adds an extra layer of indulgence and can complement the Biscoff flavor beautifully. A drizzle of chocolate can create a rich pairing, elevating the dessert even further.
For the best flavor, use high-quality Biscoff cookie butter, which can usually be found at your local grocery store or online. When selecting Biscoff cookies, look for authentic brands to ensure you capture that signature taste. You can also substitute the Biscoff cookies with other cookie brands if you’re looking to experiment with different flavors. Some people enjoy using ginger snap cookies for a spicier twist or Oreo cookies for a chocolatey alternative. Each variation offers a unique spin on the recipe while keeping the spirit of the original intact, allowing for personalization to suit your preferences. You can learn more about this topic.
Steps / Instructions
- In a large mixing bowl, pour in the heavy cream. Use an electric mixer to whip the cream until stiff peaks form. This should take about 3-5 minutes on medium-high speed. The cream should be thick enough to hold its shape when you lift the whisk out, resembling fluffy clouds. Be sure to watch closely to avoid over-whipping, which can lead to a grainy texture.
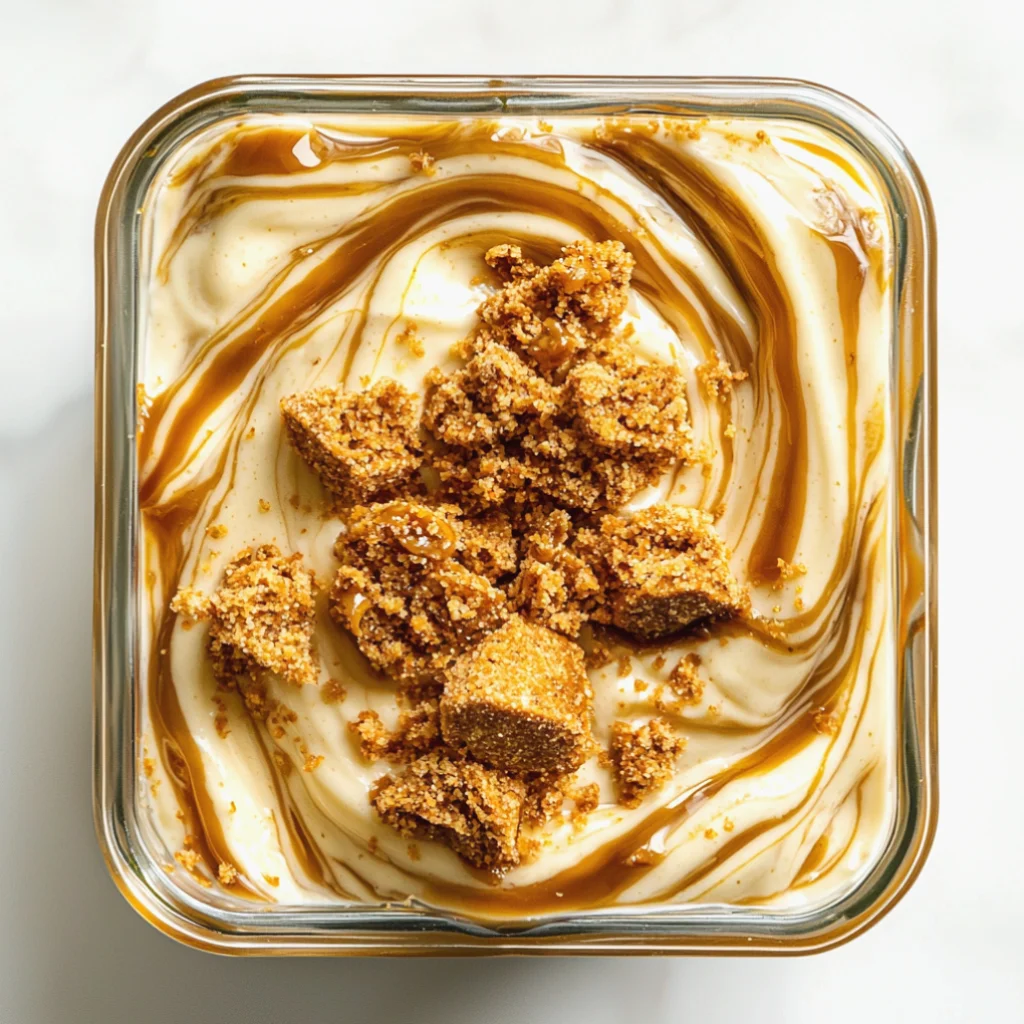
- In a separate bowl, combine the sweetened condensed milk, vanilla extract, and Biscoff cookie butter. Whisk together until smooth and well blended. Pay attention to eliminate any lumps, ensuring a creamy texture that integrates seamlessly with the whipped cream. The mixture should be velvety, hinting at the deliciousness to come, and a beautiful light brown color.
- Gently fold the whipped cream into the Biscoff mixture, using a spatula. Do this in three parts, ensuring that the whipped cream is fully incorporated without deflating it. The mixture should be light and fluffy, almost like a cloud, reflecting the airy quality of the whipped cream. Take your time with this step to maintain that airy quality; this is crucial for achieving the desired texture.
- Add the crushed Biscoff cookies to the mixture and fold gently to combine. You want the cookie pieces distributed evenly throughout the ice cream, so each scoop has bits of cookie for added texture and flavor. This will elevate the dessert from simple to spectacular with every bite, providing both visual and textural interest.
- Transfer the mixture to a loaf pan or an airtight container, smoothing the top with a spatula. Ensure there are no air pockets, as this will help prevent ice crystals from forming. A well-packed container leads to a smoother texture once frozen. Consider using a spatula to level off the top for a neat presentation.
- Cover the pan with plastic wrap or a lid and freeze for at least 6 hours, or until the ice cream is firm. For best results, leave it in the freezer overnight to ensure it’s completely set and achieves the perfect scoopable consistency. This waiting period allows the flavors to meld beautifully, enhancing the overall taste of your creation.
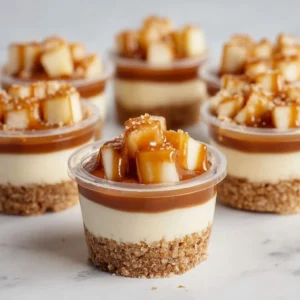
- Once frozen, scoop the ice cream into bowls or cones. Garnish with extra crushed Biscoff cookies or a drizzle of chocolate syrup if desired. Enjoy your creation immediately for the best flavor and texture, as the freshness will enhance your eating experience, making each scoop a delightful treat.
Tips & Tricks
To ensure the best results with your Decadent No-Churn Biscoff Ice Cream, consider these expert tips: Check out our related guide for more tips. These insights will help elevate your ice cream-making skills and offer alternatives for customizing your dessert. Each tip aims to enhance the overall experience, making your dessert preparation smoother and more enjoyable.
- For a thicker ice cream, whip the cream until it’s very stiff, but be cautious not to over-whip, which can turn it into butter. The ideal whipped cream should be glossy and hold peaks firmly, creating a foundation for a rich ice cream that retains its shape.
- Make this ice cream a day ahead of time to allow it to freeze completely, which enhances its flavor and texture. The resting time allows the flavors to meld beautifully, producing a more pronounced Biscoff flavor that intensifies as it freezes.
- If you’re storing leftovers, place a layer of plastic wrap directly on the surface of the ice cream before sealing the container to prevent ice crystals from forming. This simple step can dramatically improve the quality of the ice cream after freezing and ensure it maintains its creamy, smooth texture.
- Common mistakes to avoid include not mixing the whipped cream gently enough, which can lead to a denser texture, and under-freezing the ice cream, resulting in a soft and icy product rather than a creamy treat. Taking care during these steps will guarantee a delightful end result, making your ice cream experience enjoyable.
Conclusion
This Decadent No-Churn Biscoff Ice Cream is not just a treat; it’s an experience that combines the rich flavors of Biscoff cookies with the creamy texture of homemade ice cream. Create it for your next gathering or simply to enjoy at home. Its simplicity and deliciousness are bound to win everyone over. So, grab your ingredients and start making your own creamy dessert that showcases the delightful Biscoff flavor. Enjoy your indulgent frozen dessert and let us know how it turned out for you! Your feedback will only inspire us to share more delightful recipes that you can easily recreate at home. Remember, every scoop is a celebration of flavor and texture that you and your loved ones will cherish together, creating memories with each delightful bite.
Decadent No-Churn Biscoff Ice Cream
Indulging in a creamy, homemade dessert doesn’t get easier or more delightful than with this Decadent No-Churn Biscoff Ice Cream. If you’re a fan of the sweet, caramelized flavors of Biscoff cookies, this recipe will quickly become your go-to summer treat.
Ingredients
- 2 cups heavy cream, preferably chilled
- 1 cup sweetened condensed milk
- 1 teaspoon vanilla extract
- 1 cup Biscoff cookie butter
- 1 cup crushed Biscoff cookies (about 8-10 cookies)
- Extra crushed Biscoff cookies for garnish (optional)
- Chocolate shavings or syrup for drizzling (optional)
Directions
In a large mixing bowl, pour in the heavy cream. Use an electric mixer to whip the cream until stiff peaks form, about 3-5 minutes.
In a separate bowl, combine the sweetened condensed milk, vanilla extract, and Biscoff cookie butter. Whisk until smooth and well blended.
Gently fold the whipped cream into the Biscoff mixture in three parts until fully incorporated.
Add the crushed Biscoff cookies to the mixture and fold gently to combine.
Transfer the mixture to a loaf pan or an airtight container, smoothing the top with a spatula.
Cover with plastic wrap or a lid and freeze for at least 6 hours, or until firm.
Once frozen, scoop the ice cream into bowls or cones and garnish with extra crushed Biscoff cookies or chocolate syrup if desired.
Nutrition Facts
Recipe Reviews
- ★★★★★
Excellent recipe!
Leave a Reply
Your email address will not be published. Required fields are marked *


Excellent recipe!