
Make this delicious homemade No-Churn Ice Cream recipe with just 3 ingredients from www.podiumrecipes.com. Easy, creamy, and perfect for summer sweet treats without an ice cream maker.
Table of Contents
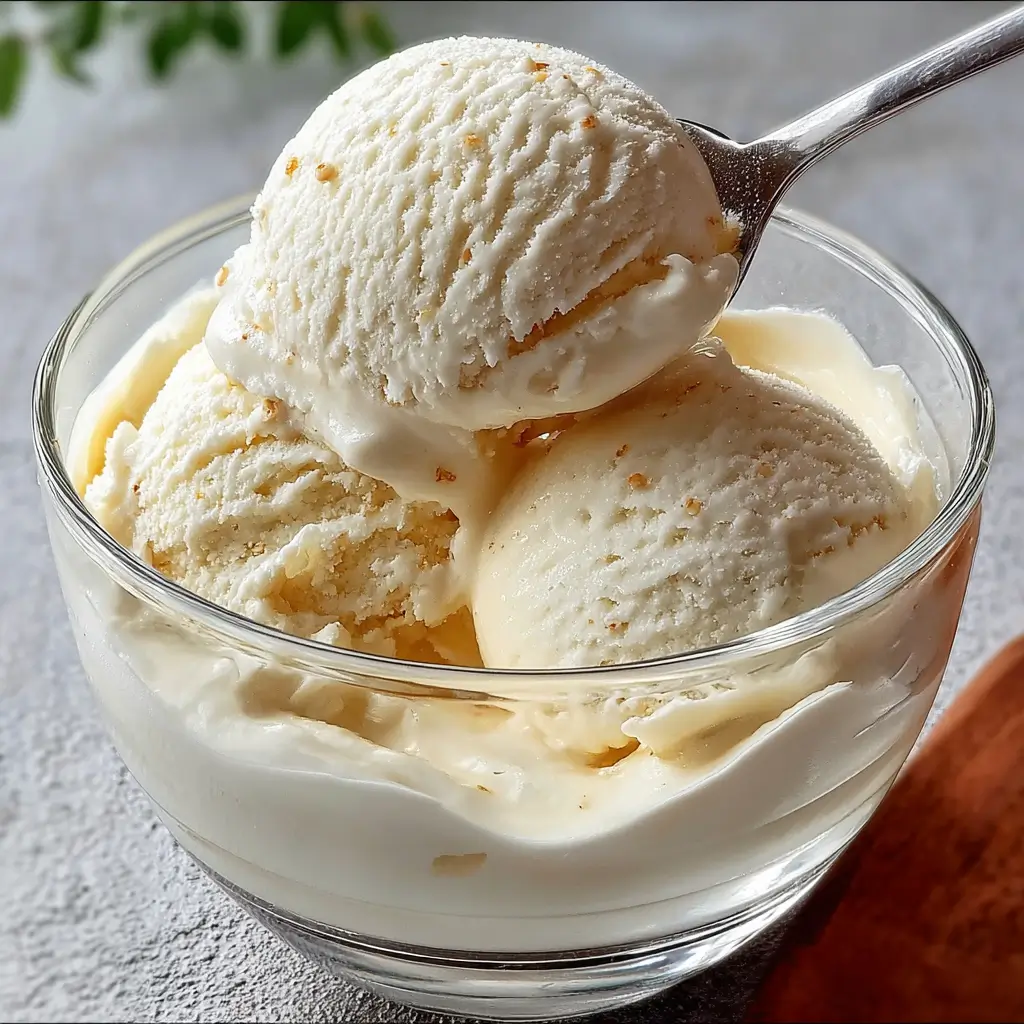
Delicious No-Churn Ice Cream
Craving creamy, rich ice cream but don’t have an ice cream maker? This Delicious No-Churn Ice Cream recipe is your answer to homemade frozen perfection. With just three simple ingredients and no special equipment required, you can create restaurant-quality ice cream right in your own kitchen. This easy recipe proves that the best sweet treats don’t always require complicated techniques or expensive machinery.
What makes this no-churn method so incredible is its simplicity and versatility. The base recipe creates a smooth, scoopable dessert that rivals any premium store-bought ice cream. Whether you’re looking for a fun summer project with the kids or a kid-friendly dessert that everyone will love, this 3 ingredients wonder delivers every time. The best part? You can customize it with endless flavor combinations to suit any taste preference.
This homemade ice cream is perfect for those hot summer days when you want something cool and refreshing without the hassle of traditional churning methods. The recipe is so foolproof that even beginners can achieve professional results on their first try.
Ingredients
Base Recipe:
- 2 cups heavy whipping cream (cold)
- 1 can (14 oz) sweetened condensed milk
- 2 teaspoons pure vanilla extract
Optional Mix-ins:
- 1/2 cup chocolate chips
- 1/2 cup crushed cookies
- 1/2 cup fresh fruit puree
- 1/4 cup cocoa powder (for chocolate version)
- 1/4 cup peanut butter
- 1/3 cup caramel sauce
- 1/2 cup chopped nuts
Nutrition Facts
Per Serving (1/2 cup, serves 8):
- Calories: 285
- Protein: 6g
- Total Carbs: 24g
- Dietary Fiber: 0g
- Total Fat: 19g
- Saturated Fat: 12g
- Cholesterol: 65mg
- Sodium: 55mg
- Sugar: 24g
- Calcium: 180mg
Preparation Instructions
Step 1: Prepare Your Equipment
- Chill your mixing bowl and beaters in the freezer for 15 minutes before starting. This easy step ensures better whipping results for your no-churn ice cream.
- Have a 9×5 inch loaf pan or freezer-safe container ready for storing your homemade dessert.
Step 2: Whip the Cream
- Pour the cold heavy cream into your chilled mixing bowl.
- Using an electric mixer, whip the cream on medium-high speed until soft peaks form, about 2-3 minutes.
- Continue whipping until stiff peaks form, being careful not to over-whip. This creates the light, airy texture that makes no-churn ice cream so creamy.
Step 3: Prepare the Base
- In a separate bowl, whisk together the sweetened condensed milk and vanilla extract until smooth.
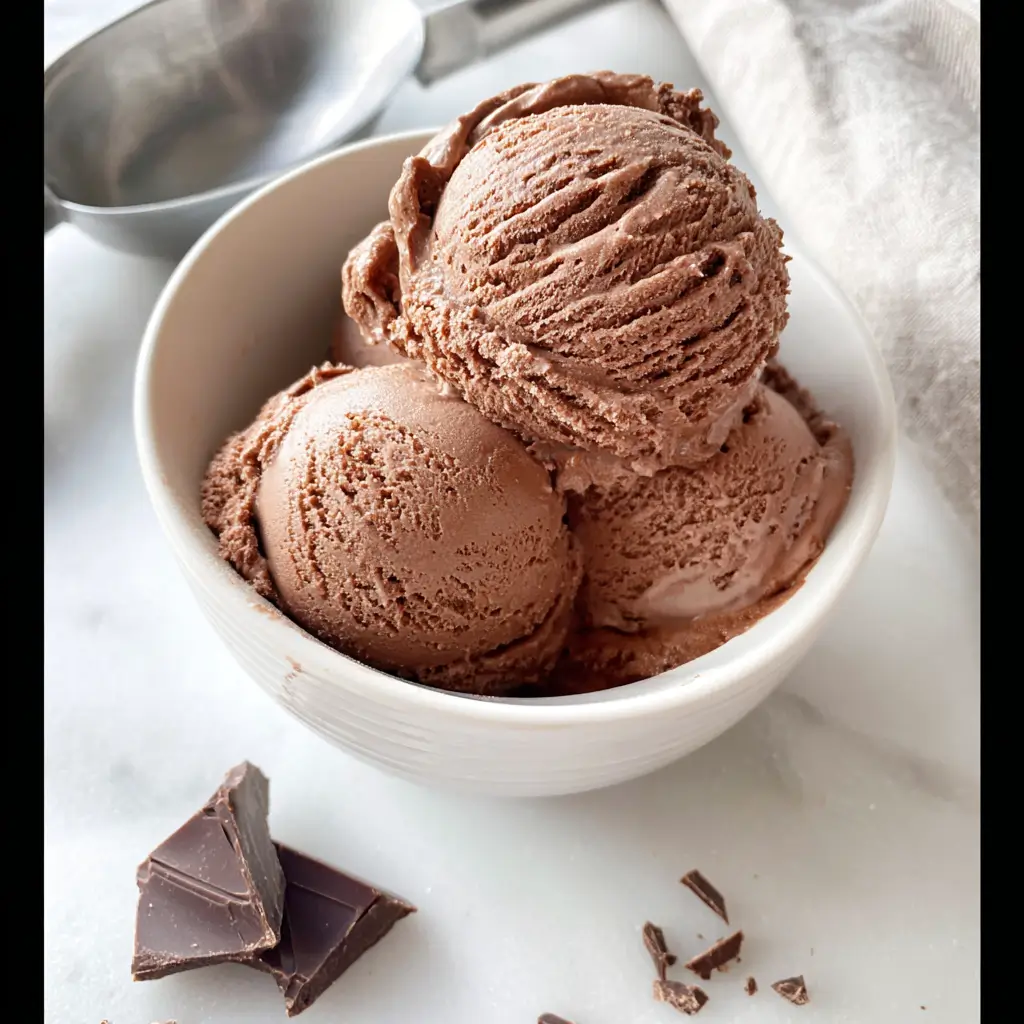
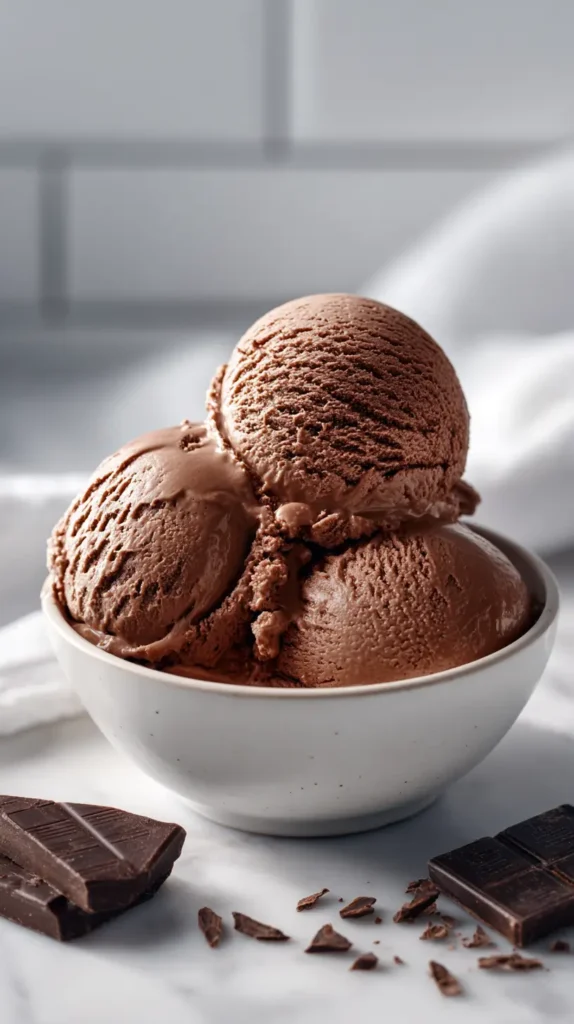
- If making a chocolate version, add cocoa powder to this mixture and whisk until completely incorporated.
Step 4: Combine and Fold
- Add about one-third of the whipped cream to the condensed milk mixture.
- Gently fold together using a rubber spatula, being careful not to deflate the cream.
- Add the remaining whipped cream in two additions, folding gently until just combined. The mixture should be smooth and uniform.
Step 5: Add Mix-ins
- If using any mix-ins like chocolate chips, fruit, or cookies, gently fold them in now.
- Be careful not to overmix, as this can deflate the air bubbles that give your ice cream its creamy texture.
Step 6: Freeze
- Pour the mixture into your prepared container and smooth the top with a spatula.
- Cover tightly with plastic wrap, pressing it directly onto the surface to prevent ice crystals.
- Freeze for at least 6 hours or overnight until firm and scoopable.
Serving Suggestions
This Delicious No-Churn Ice Cream is perfect on its own, but there are countless ways to serve this sweet treat. Scoop it into bowls and top with fresh berries, chocolate sauce, or caramel drizzle for an elegant dessert presentation. The creamy texture makes it ideal for ice cream sandwiches using your favorite cookies.
During summer gatherings, serve this homemade ice cream alongside warm fruit cobblers or pies. The contrast between the cold, creamy dessert and warm baked goods creates a memorable meal experience. For kid-friendly parties, set up a sundae bar with various toppings and let everyone create their own sweet treat.
This recipe also works beautifully as a base for milkshakes or floats. Simply blend with milk for a creamy milkshake, or add a scoop to your favorite soda for a dessert drink that’s perfect for hot summer days.
Pro Tips for Perfect No-Churn Ice Cream
The key to successful no-churn ice cream lies in properly whipping the cream. Don’t skip the step of chilling your bowl and beaters – this easy technique ensures your cream whips to perfect peaks quickly and maintains its structure throughout the mixing process.
When folding ingredients together, use gentle motions to preserve the air bubbles in the whipped cream. This professional tip is what gives your homemade ice cream its signature smooth, creamy texture without the need for churning.
For the smoothest results, let your ice cream soften slightly at room temperature for 5-10 minutes before scooping. This easy step makes serving much more manageable and creates perfect scoops every time.
Store your no-churn ice cream in an airtight container with plastic wrap pressed directly onto the surface. This prevents ice crystals from forming and keeps your dessert fresh for up to one month in the freezer.
Variations and Flavor Combinations
Chocolate Chip Cookie Dough
Transform your basic recipe into a bakery-style treat by adding 1/2 cup of homemade cookie dough pieces and chocolate chips. This variation creates a kid-friendly dessert that rivals any premium brand.
Strawberry Swirl Alternative
Create a beautiful pink swirl by folding in 1/2 cup of strawberry puree just before freezing. This fruit-forward variation is perfect for summer when berries are at their peak.
Mint Chocolate Chip Substitute
Replace vanilla extract with mint extract and add green food coloring plus chocolate chips. This refreshing alternative is ideal for hot summer days when you want something cool and invigorating.
Cookies and Cream Variation
Crush your favorite chocolate sandwich cookies and fold them into the base mixture. This classic variation creates a dessert that’s always a crowd-pleaser.
Peanut Butter Alternative
Swirl in 1/4 cup of creamy peanut butter for a rich, nutty variation. This substitute creates a dessert that’s perfect for peanut butter lovers.
Coffee Variation
Add 2 tablespoons of instant coffee dissolved in 1 tablespoon of hot water to create a sophisticated coffee-flavored ice cream. This alternative is perfect for adult dessert preferences.
Frequently Asked Questions
Q: How long does this No-Churn Ice Cream last in the freezer? A: When properly stored in an airtight container, this homemade ice cream will stay fresh for up to one month. The quality remains excellent for the first two weeks.
Q: Can I make this recipe without an electric mixer? A: While an electric mixer makes the process much easier, you can whip cream by hand with a whisk. It will take significantly longer and require more effort, but it’s possible for this easy recipe.
Q: Why is my ice cream too hard to scoop? A: No-churn ice cream can freeze quite hard. Let it sit at room temperature for 5-10 minutes before scooping, or run your ice cream scoop under warm water between scoops.
Q: Can I use light cream instead of heavy cream? A: Heavy cream is essential for this recipe because it whips to the proper consistency. Light cream won’t provide the same results for this 3 ingredients dessert.
Q: How do I prevent ice crystals from forming? A: Press plastic wrap directly onto the surface of your ice cream before freezing. This prevents air exposure that can cause ice crystals in your sweet treat.
Q: Can I make this recipe dairy-free? A: You can substitute coconut cream for heavy cream and use dairy-free condensed milk, though the texture may be slightly different from the traditional homemade version.
Conclusion
This Delicious No-Churn Ice Cream recipe proves that creating homemade desserts doesn’t have to be complicated or require expensive equipment. With just 3 ingredients and a few simple steps, you can produce creamy, professional-quality ice cream that’s perfect for any occasion. Whether you’re looking for a fun summer activity with the family or a quick sweet treat to satisfy your cravings, this easy recipe delivers consistently delicious results.
The versatility of this no-churn method means you’ll never run out of flavor possibilities. From classic vanilla to creative combinations with your favorite mix-ins, this recipe serves as the perfect foundation for countless dessert creations. The kid-friendly nature of this homemade ice cream makes it an ideal project for involving little helpers in the kitchen.
We encourage you to try this incredible recipe and experiment with different flavor combinations. Share your creative variations in the comments below and let us know which combination became your family’s favorite sweet treat. For more easy dessert recipes and summer treats like this one, visit www.podiumrecipes.com where you’ll discover hundreds of homemade solutions for all your cooking needs.
Ready to explore more frozen desserts and kid-friendly recipes? Browse our complete collection of ice cream recipes, summer treats, and 3 ingredients wonders at www.podiumrecipes.com – your trusted source for easy homemade recipes that bring joy to every meal and celebration.