
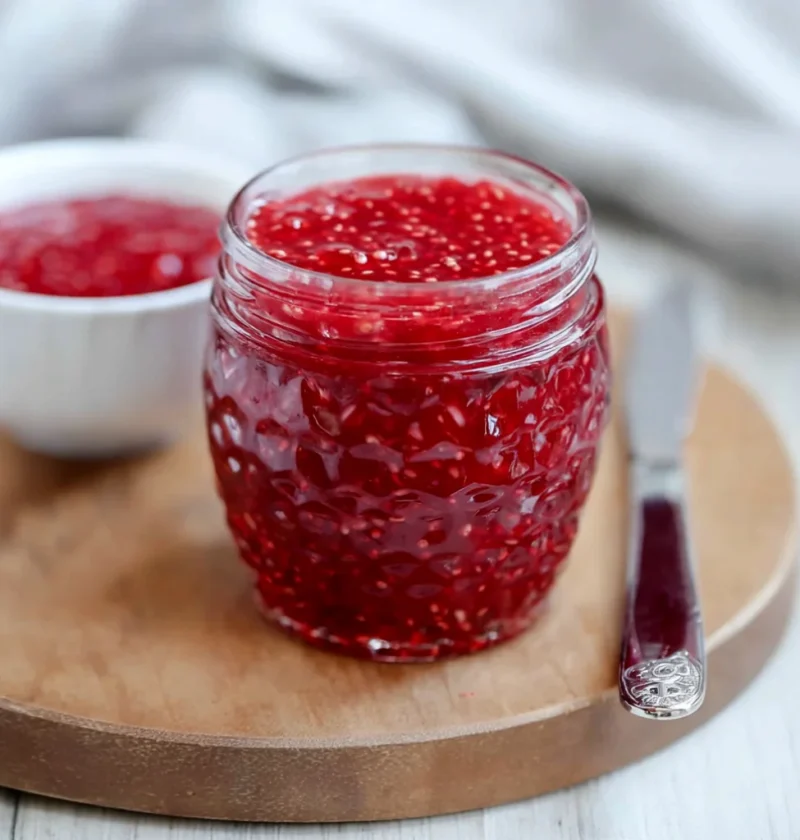
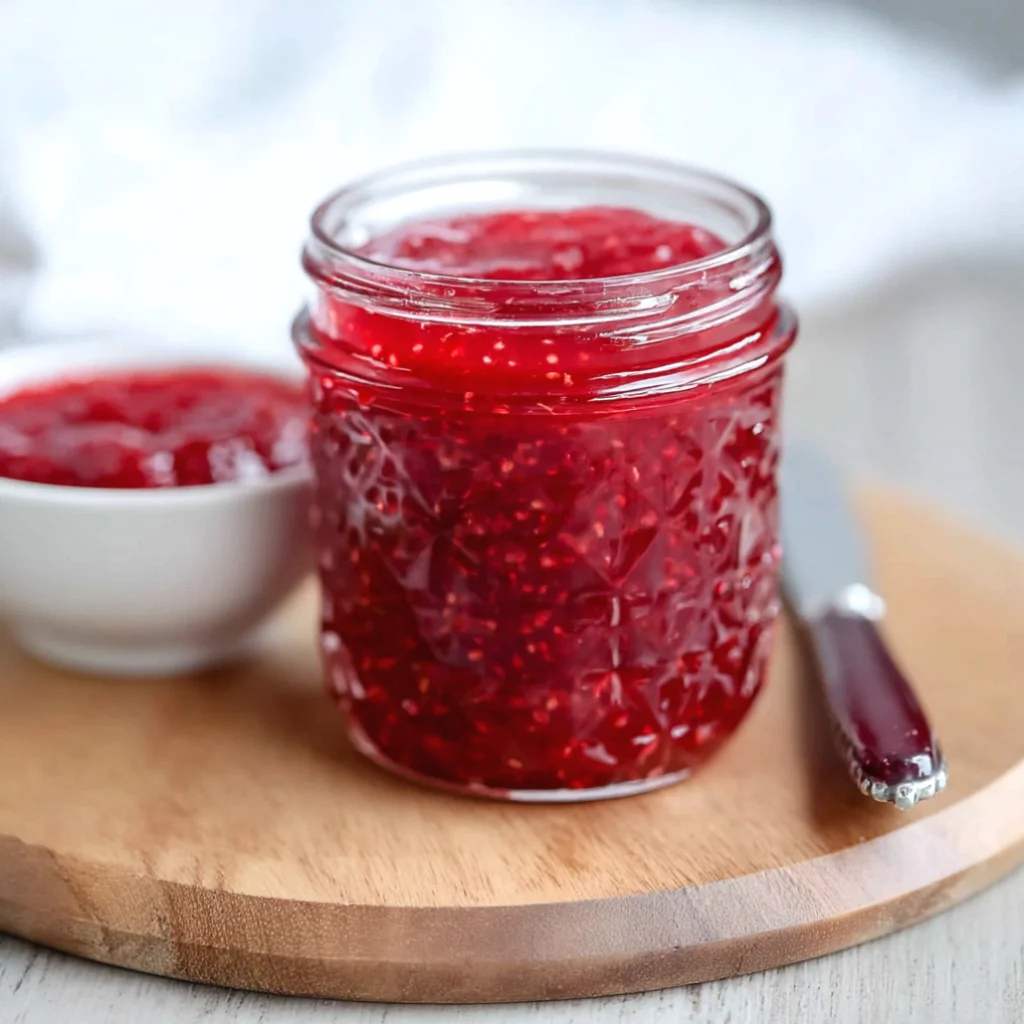
When summer arrives and fresh raspberries are in abundance, there’s nothing quite like making your own Raspberry Freezer Jam. This no-cook jam not only captures the vibrant essence of ripe raspberries but also allows you to create a deliciously sweet and tart spread in a matter of minutes. Unlike traditional canning methods, freezer jam requires no special equipment or lengthy cooking processes, making it an accessible option for everyone. Plus, it’s a fantastic way to preserve seasonal fruit and enjoy the taste of summer all year round. Whether you slather it on toast, swirl it into yogurt, or use it in desserts, Raspberry Freezer Jam is a versatile treat every berry lover will cherish. Imagine waking up in winter to spread this bright, fruity delight on your morning bagel, instantly transporting you back to sunny days. This easy-to-make jam is a family favorite and is often a highlight during our summer gatherings, as we share stories while enjoying the fruits of our labor.
Table of Contents
Ingredients
- Fresh Raspberries: 2 cups, washed and stems removed. Look for plump, juicy raspberries that are deep red in color for the best flavor. The quality of your raspberries will directly impact the taste of your jam, so opt for organic if possible.
- Sugar: 1 ½ cups. Granulated sugar is ideal, but feel free to experiment with alternatives if desired. Keep in mind that sugar not only sweetens but also helps preserve the jam.
- Fruit Pectin: 1 package (specifically for freezer jam). This is crucial for proper thickening without cooking. Ensure you use pectin designed for freezer jams to achieve the right consistency.
- Lemon Juice: 2 tablespoons (freshly squeezed if possible). Fresh lemon juice enhances the taste and acts as a natural preservative. The acidity is key in balancing flavors in your Raspberry Freezer Jam.
- Water: ¼ cup. This is needed to dissolve the pectin effectively. Using filtered water can enhance the overall flavor of the jam.
For the best flavor, use ripe, fresh raspberries from local markets or your garden. If you prefer a lower sugar option, there’s low-sugar pectin available that you can substitute. Just be sure to follow the package instructions for any adjustments to sugar and fruit ratios. You can learn more about this topic and discover the history of freezer jams, which originated as a convenient way to preserve fruit without canning. Many families cherish their own variations of Raspberry Freezer Jam, often passed down through generations, making this not just a recipe, but a cherished tradition.
Steps / Instructions
- Prepare the Raspberries: In a large bowl, mash the fresh raspberries using a potato masher or fork until you achieve a chunky consistency. Leave some whole for texture if desired. This step is crucial as it allows the natural juices to flow freely, enhancing the flavor of your Raspberry Freezer Jam. You should aim for a mix of pureed and whole berries to get the best mouthfeel.
- Add Sugar: Stir in the sugar and let the mixture sit for about 10 minutes. This allows the raspberries to release their juices, creating a natural syrup. You should see a small pool of liquid forming at the bottom of the bowl, indicating that the sugar is beginning to dissolve into the raspberries’ juices. This is a simple yet essential step for developing the flavor of your jam.
- Mix Pectin: In a small saucepan, combine the water and fruit pectin. Bring it to a boil over medium heat, stirring constantly until the pectin dissolves completely, which should take about 1-2 minutes. Make sure to scrape the bottom of the saucepan to avoid any clumps of pectin. This ensures that the pectin is evenly distributed throughout the jam.
- Combine Mixtures: Once the pectin mixture is ready, immediately pour it into the raspberry mixture. Stir vigorously for about 2-3 minutes until the mixture thickens slightly and becomes glossy. This is when the magic happens; you’ll notice the change in texture as the pectin works its wonders. Be sure to mix thoroughly to avoid any pocketing of pectin.
- Add Lemon Juice: Stir in the freshly squeezed lemon juice. This not only enhances the flavor but also helps preserve the jam. The acidity from the lemon balances the sweetness, ensuring a well-rounded flavor profile. A touch of lemon zest can also be added for an extra layer of citrus brightness.
- Fill Containers: Pour the jam into clean, freezer-safe containers, leaving about ½ inch of headspace at the top to allow for expansion during freezing. Seal the containers tightly, ensuring no air is trapped inside. This will help prevent freezer burn. Choose containers that fit your freezer space well, allowing for easy stacking.
- Cool and Freeze: Let the jam cool at room temperature for about 30 minutes before placing it in the freezer. It can be stored in the freezer for up to a year and in the refrigerator for about 3 weeks once thawed. Label your containers with the date, so you can enjoy your Raspberry Freezer Jam at its freshest! Additionally, consider using colorful labels to brighten up your freezer.
Tips & Tricks
- Storage: Use glass jars or BPA-free plastic containers for storing your freezer jam. Ensure that containers are clean and dry before filling them, as any moisture can lead to spoilage. Using jars with airtight seals will help maintain freshness.
- Make-Ahead: Raspberry Freezer Jam can be prepared ahead of time, making it a great option for busy schedules or last-minute gifts. It’s perfect for preparing a batch during raspberry season and enjoying it throughout the year. Consider making a double batch to keep on hand!
- Avoiding Mistakes: Make sure to use the correct type of pectin for freezer jam, as regular pectin requires heat and is not suited for this recipe. Always check the pectin package for specific instructions related to the brand you choose. If unsure, refer to the manufacturer’s guidelines for the best results.
- Adjusting Sweetness: If you want a less sweet jam, you can reduce the sugar by up to half, especially if your raspberries are particularly sweet. Experiment with the ratios to find the perfect balance for your palate. You can also incorporate other fruits for a unique flavor twist.
Conclusion
Raspberry Freezer Jam is not only a delicious way to preserve fresh fruit, but it also allows you to enjoy the delightful flavor of raspberries long after summer fades. With just a few simple steps, you’ll create a homemade spread that can elevate any breakfast or dessert. Don’t hesitate to try making your own jam and savor the taste of summer in every bite! Check out our related guide for more tips on maximizing your jam-making experience. By immersing yourself in the process, you’ll find that making Raspberry Freezer Jam can become a joyful tradition that brings friends and family together.
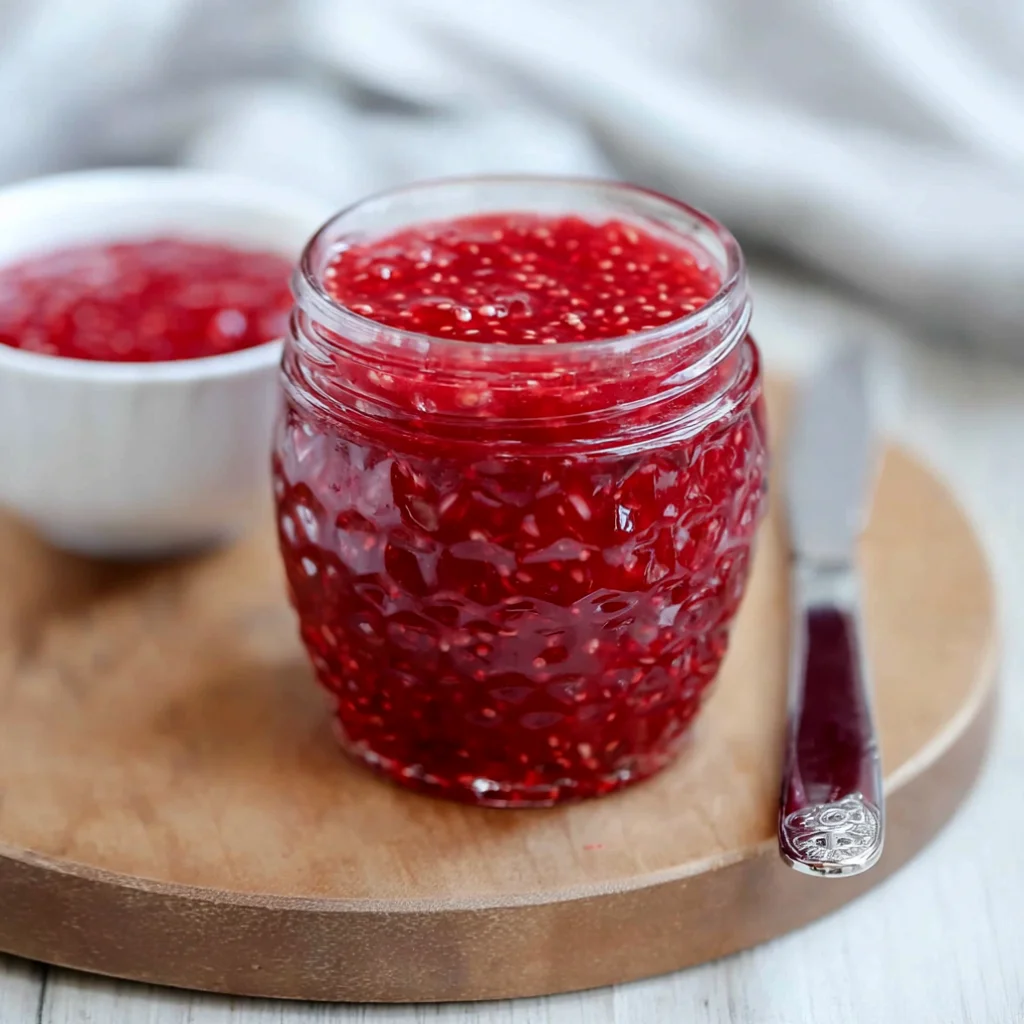
Raspberry Freezer Jam
A no-cook jam that captures the vibrant essence of ripe raspberries, allowing you to create a deliciously sweet and tart spread in a matter of minutes.
Ingredients
- 2 cups Fresh Raspberries, washed and stems removed
- 1 ½ cups Sugar
- 1 package Fruit Pectin (specifically for freezer jam)
- 2 tablespoons Lemon Juice (freshly squeezed if possible)
- ¼ cup Water
Directions
In a large bowl, mash the fresh raspberries using a potato masher or fork until you achieve a chunky consistency. Leave some whole for texture if desired.
Stir in the sugar and let the mixture sit for about 10 minutes to allow the raspberries to release their juices.
In a small saucepan, combine the water and fruit pectin. Bring to a boil over medium heat, stirring constantly until the pectin dissolves completely, about 1-2 minutes.
Immediately pour the pectin mixture into the raspberry mixture and stir vigorously for about 2-3 minutes until the mixture thickens slightly and becomes glossy.
Stir in the freshly squeezed lemon juice.
Pour the jam into clean, freezer-safe containers, leaving about ½ inch of headspace at the top to allow for expansion during freezing. Seal tightly.
Let the jam cool at room temperature for about 30 minutes before placing it in the freezer.
Recipe Reviews
- ★★★★★
Excellent recipe!
Leave a Reply
Your email address will not be published. Required fields are marked *




Excellent recipe!