Introduction
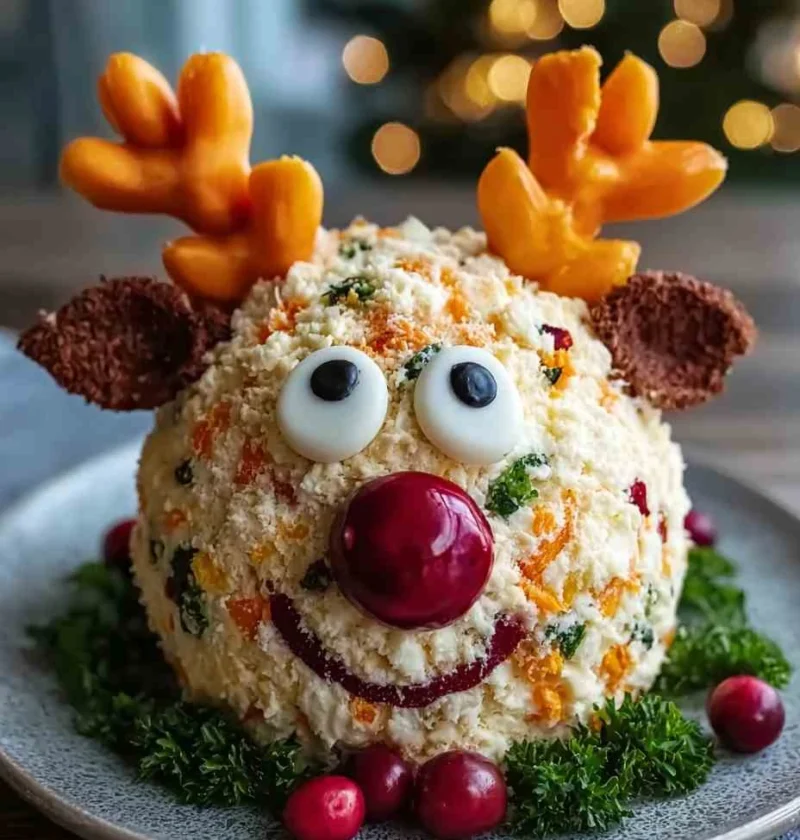
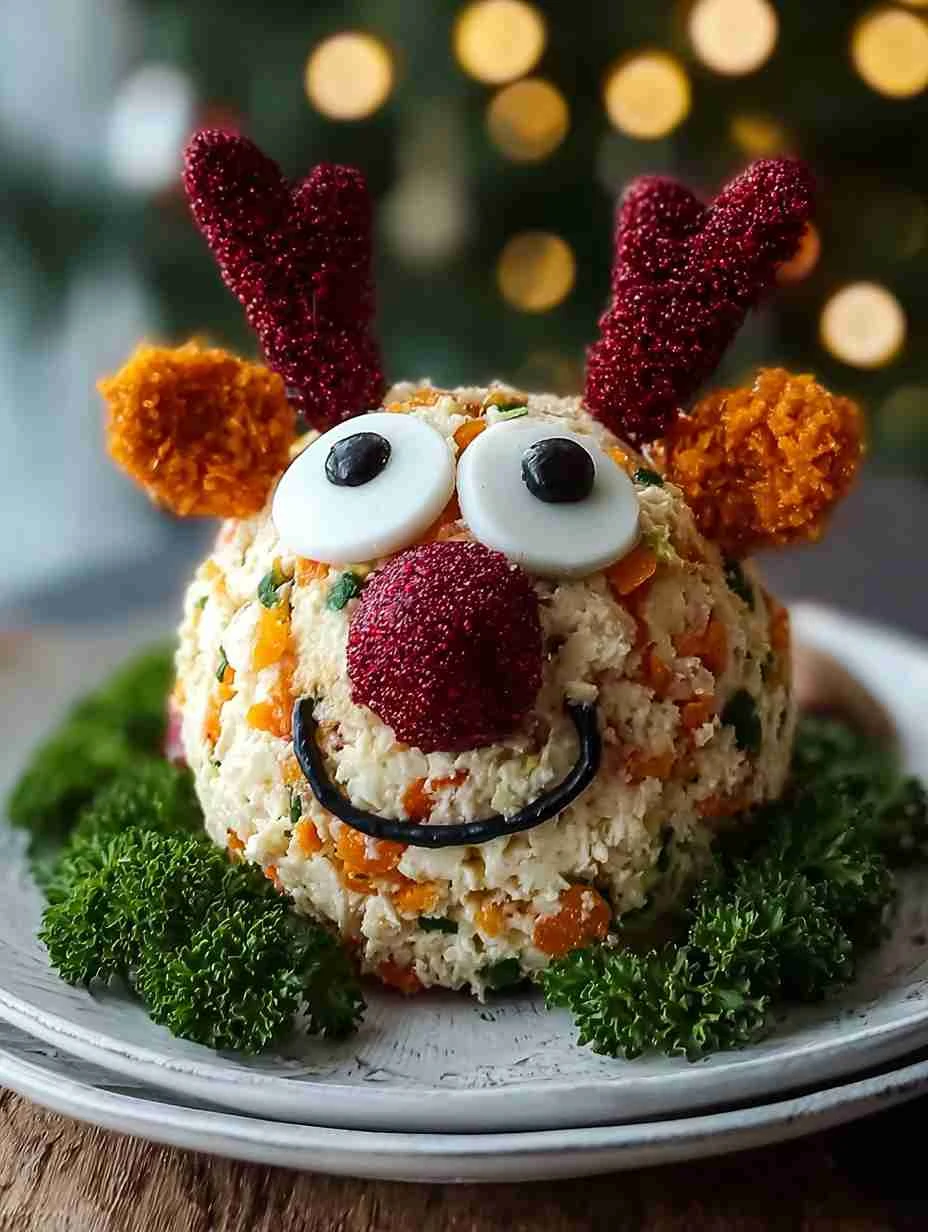
Imagine a whimsical Christmas gathering where the star of the appetizer table is a festive Rudolph cheese ball, delighting guests with its charming appearance and delicious flavor. This DIY Rudolph cheese ball for Christmas is not just a treat for the taste buds but also a feast for the eyes, making it a must-have centerpiece for your holiday parties. In this guide, we will explore the magic behind creating this unique Christmas cheese ball, blending creativity with culinary artistry to craft a memorable experience for your guests.
As the host or hostess of the gathering, you have the opportunity to showcase your skills and creativity with this whimsical Rudolph cheese ball recipe. This Christmas cheese ball idea for parties is more than just a dish; it’s a conversation starter, a work of art, and a symbol of holiday cheer. Let’s dive into the world of whimsical Christmas appetizers tutorials and discover how to make a Rudolph cheese ball that will steal the spotlight at your festive celebrations.
Bringing together the essence of Christmas with a touch of whimsy, this Rudolph-inspired festive cheese ball embodies the spirit of the season. With its unique design and flavorful ingredients, this appetizer goes beyond traditional party snacks, adding a dash of fun and festivity to your table. Join us on this culinary adventure as we explore the art of crafting whimsical Christmas gathering snacks that are as delightful to make as they are to eat.
Whether you are hosting a themed holiday party or simply looking to impress your guests with creative Christmas appetizers, the Rudolph cheese ball is a perfect choice. This guide will take you through the process of creating decorative festive cheese ball ideas that will elevate your Christmas gatherings to a whole new level. Get ready to unleash your inner chef and spread joy and merriment with this whimsical cheese ball design for the holidays.
Why You’ll Love This Recipe
Indulge in the magic of the holiday season with this whimsical Rudolph cheese ball recipe that combines flavor, creativity, and festive charm. Whether you’re a seasoned chef or a novice in the kitchen, this DIY Rudolph cheese ball for Christmas is easy to make and promises to be a showstopper at any gathering. Let’s explore what makes this Christmas cheese ball idea so special:
The unique Christmas cheese ball designs allow you to express your creativity and culinary skills, making it a fun and rewarding cooking experience. This whimsical cheese ball is not just a treat for the taste buds but also a visual delight, perfect for capturing the holiday spirit in every bite. With our step-by-step guide on how to make a Rudolph cheese ball, you’ll discover the joy of crafting edible art that brings smiles and laughter to your guests.
One of the best features of this festive cheese ball recipe for Christmas is its versatility. You can customize the ingredients to suit your preferences and dietary needs, making it a flexible option for various culinary requirements. Whether you prefer a classic cheese ball or want to experiment with different flavors and textures, this recipe offers endless possibilities for creative Christmas cheese ball tutorials.
Impress your friends and family with a Rudolph-inspired cheese ball that reflects your holiday spirit and attention to detail. The whimsical design and playful presentation of this appetizer make it a perfect addition to any Christmas gathering, setting the stage for a memorable and joyful celebration. Get ready to elevate your party with decorative festive cheese ball ideas that will leave a lasting impression on your guests.
Ingredients
For the Cheese Ball
- 16 oz (450 g) cream cheese, softened
- 1 cup shredded sharp cheddar
- ⅓ cup grated Parmesan
- ¼ cup green onions, finely chopped
- ¼ cup roasted red peppers, finely chopped
- 1 teaspoon Worcestershire sauce
- 1 teaspoon garlic powder
- ½ teaspoon onion powder
- ½ teaspoon smoked paprika
- Salt & pepper, to taste
For Coating & Decorating
- 1 cup chopped pecans (or walnuts)
- 2 pretzel twists (for antlers)
- 2 small olives or peppercorns (for eyes)
- 1 cherry tomato, cranberry, or red M&M (for nose)
- 1 small slice of olive or red pepper (for mouth)
- Crackers, veggies, or pretzels for serving
Step-by-Step Instructions
Step 1: Mix the Cheese Base
Combine the cream cheese, cheddar, Parmesan, green onions, red peppers, Worcestershire, garlic powder, onion powder, smoked paprika, salt, and pepper in a medium bowl.
Mix until smooth and fully incorporated.
Step 2: Shape into Rudolph’s Head
Scoop the mixture onto a sheet of plastic wrap.
Gather into a ball and then gently shape into a slightly oval “face” shape.
Refrigerate for 1 hour to firm up.
Step 3: Coat the Cheese Ball
Place chopped pecans on a plate.
Unwrap the cheese ball and roll it in the nuts until fully coated.
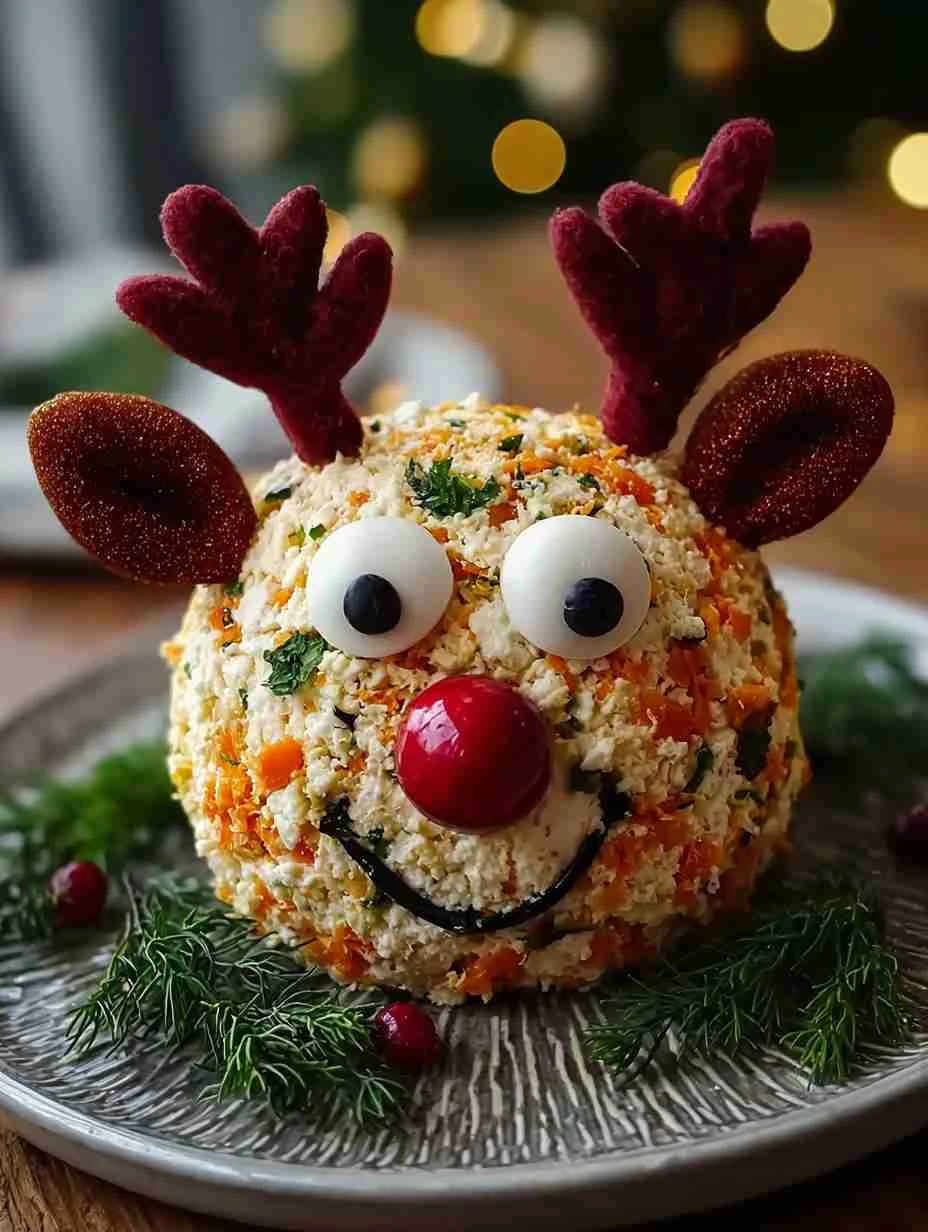
Step 4: Decorate Your Rudolph
Press two pretzel twists into the top as antlers.
Add olives or peppercorns for eyes.
Press a cherry tomato, cranberry, or candy into the front for a red nose.
Use a tiny piece of olive or red pepper to create a smile.
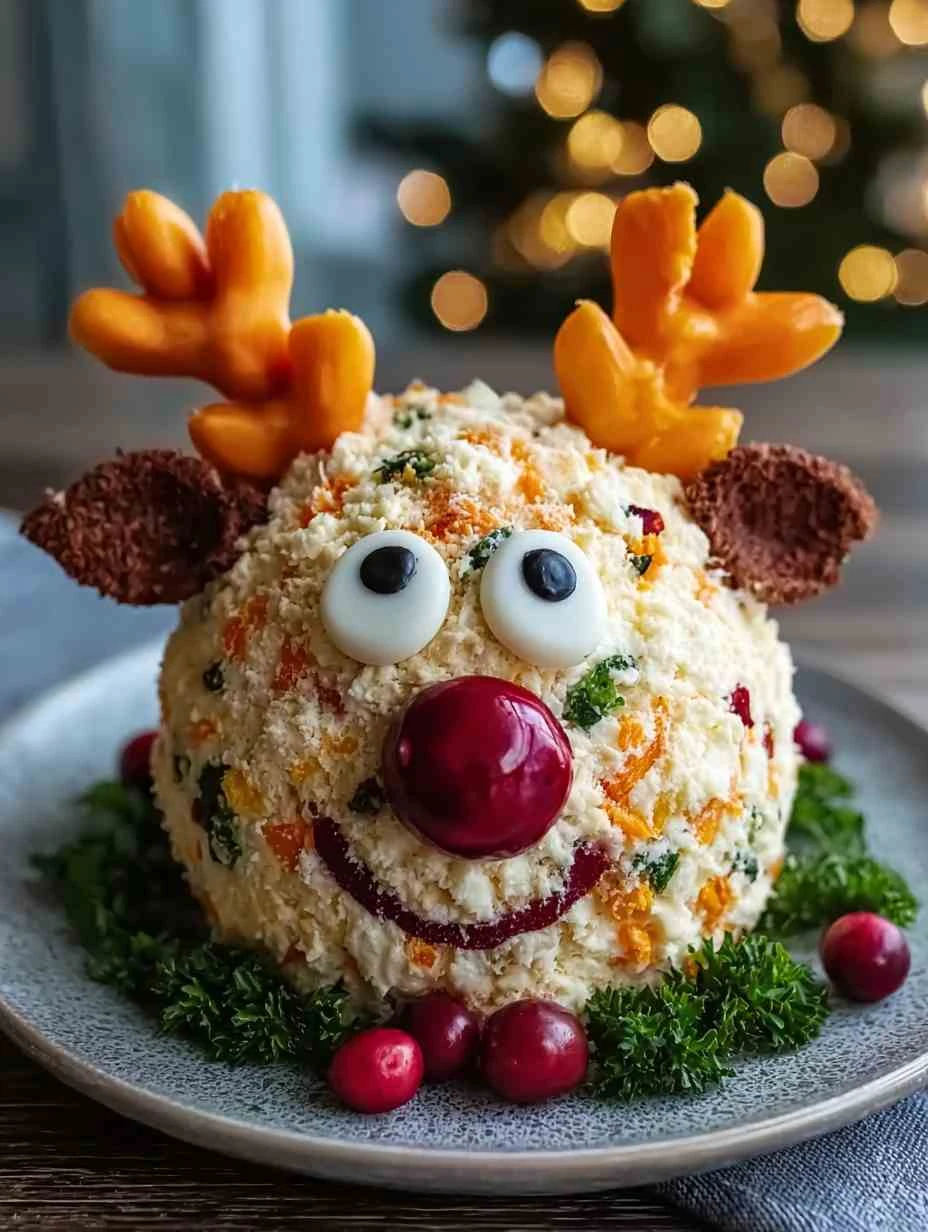
Step 5: Serve
Place Rudolph on a platter with crackers, pretzels, celery sticks, cucumber slices, or pita chips.
Serve immediately or refrigerate until needed.
Expert Tips
• Use full-fat cream cheese for the smoothest, richest texture.
• For a no-nut version, coat in chopped herbs, crushed pretzels, or panko.
• Let the cheese ball sit at room temperature for 10–15 minutes before serving so it’s easy to spread.
• Mix the cheese by hand for a chunkier texture or use a mixer for extra smoothness.
• Make two smaller Rudolphs instead of one large one for easier snacking.
Variations & Substitutions
• Spicy Rudolph: Add minced jalapeños, cayenne pepper, or chili flakes.
• Bacon Lovers: Mix in ¼ cup cooked, crumbled bacon.
• Herb & Garlic Version: Swap cheddar for mozzarella and add fresh parsley, dill, or chives.
• Nut-Free Coating: Use crushed pretzels, tortilla chips, or everything bagel seasoning.
• Sweet & Savory: Add 2 tablespoons dried cranberries for pops of sweetness.
Storage & Make-Ahead
• Store the cheese ball tightly wrapped for up to 4 days in the fridge.
• Decorate antlers and face just before serving to keep pretzels from softening.
• You can prepare the cheese mixture and freeze (undecorated) for up to 1 month.
Serving Suggestions
Serve with:
• Crackers, pita chips, or pretzels
• Sliced cucumbers or celery sticks
• A charcuterie or holiday grazing board
• A mix of fresh fruit and nuts for contrast
Perfect for:
• Christmas parties
• Family movie nights
• Potlucks
• Kids’ holiday gatherings
FAQs
Can I make this cheese ball nut-free?
Absolutely — use crushed pretzels, toasted panko, or herbs for the coating.
Can I make this ahead of time?
Yes! The cheese ball can be made 1–2 days ahead. Add antlers and face right before serving.
What cheese works best inside the cheese ball?
Sharp cheddar gives the best flavor, but Colby Jack, pepper jack, or Gouda work great too.
My cheese ball is too soft. What do I do?
Chill it for 30–60 minutes, or mix in an extra tablespoon of shredded cheese.
Can I double the recipe?
Yes — it doubles easily. You can also form mini Rudolph balls for individual servings.
Final Thoughts
This Whimsical Rudolph Christmas Cheese Ball is fun, festive, and unbelievably delicious — the perfect blend of holiday charm and creamy, savory goodness. Whether you’re hosting a party, taking a dish to a potluck, or creating a magical snack board for your family, Rudolph is guaranteed to bring smiles, photos, and empty plates. Easy to make, easy to customize, and perfect for prepping ahead, it’s a holiday favorite you’ll want to serve every year.
Whimsical Rudolph Christmas Cheese Ball for Festive Gatherings
Express your creativity and culinary skills with this whimsical Rudolph cheese ball recipe, a delightful and festive centerpiece for holiday gatherings. This DIY cheese ball combines charming appearance with delicious flavor, promising to be a showstopper at any party.