Table of Contents
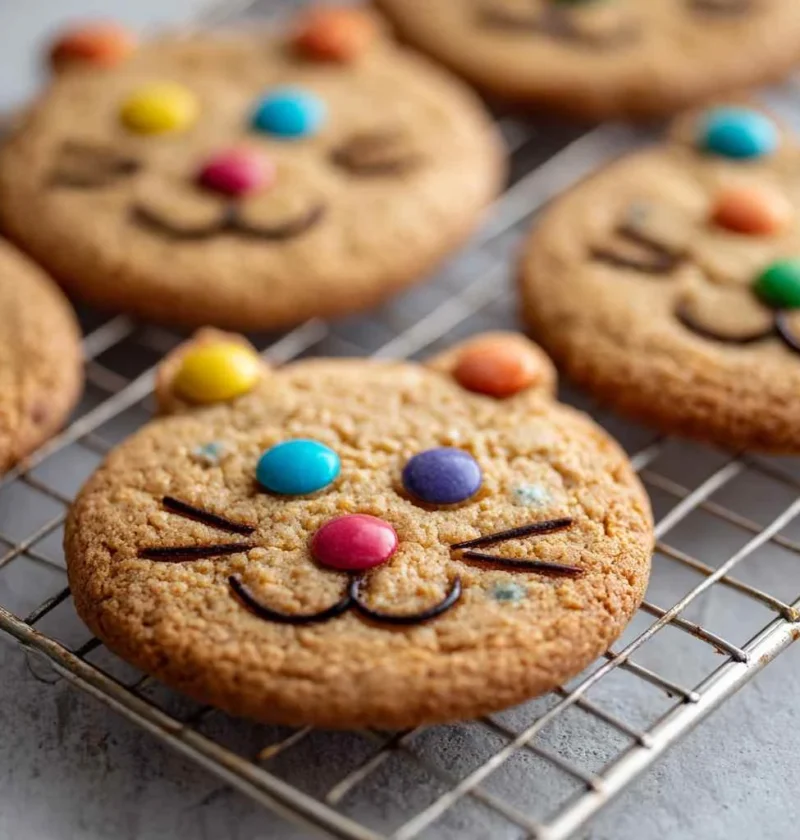
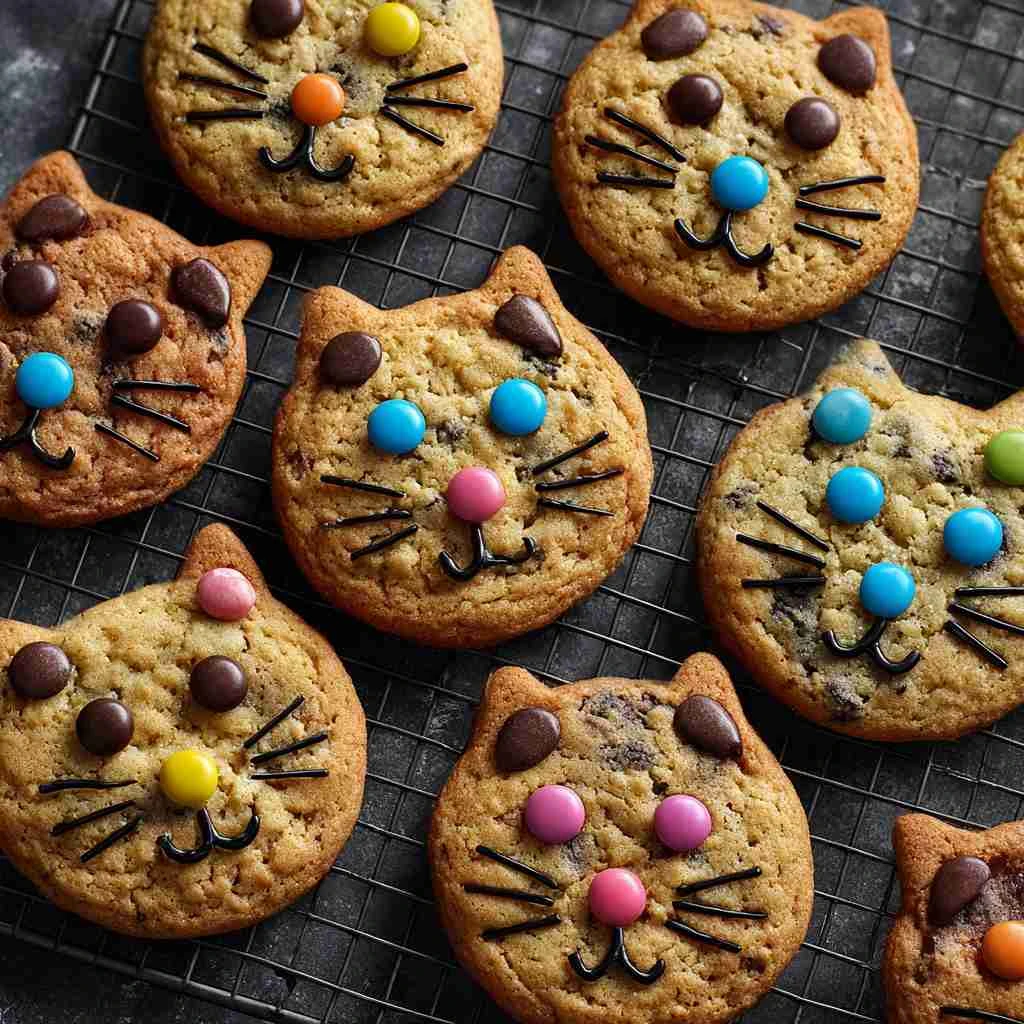
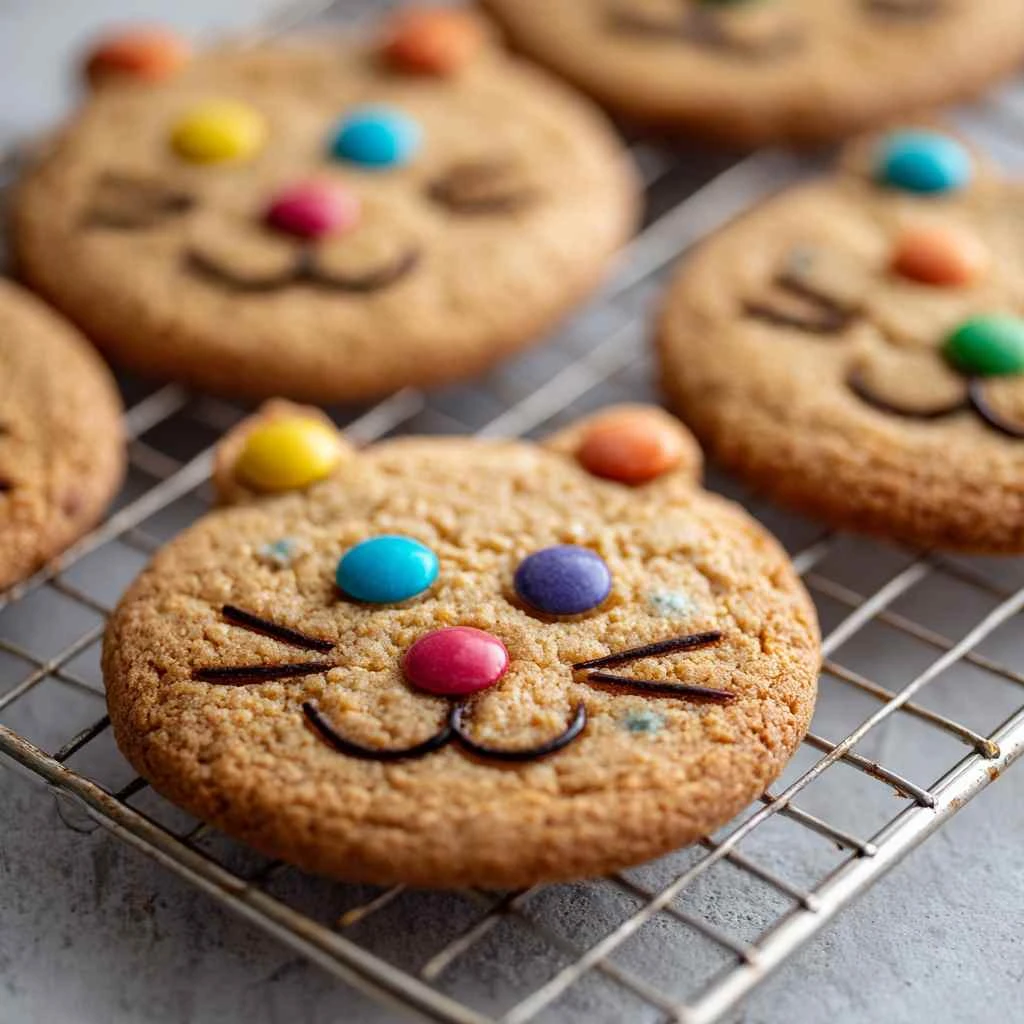
Kitty Cat Chocolate Chip Cookies
Imagine the delightful aroma of freshly baked cookies wafting through your kitchen, tempting you with their warm, gooey goodness. Now, picture adding a playful twist to this classic treat by incorporating a beloved feline friend into the mix. Yes, we’re talking about Kitty Cat Chocolate Chip Cookies – a whimsical yet scrumptious recipe that combines the joy of baking with a touch of whimsy.
These charming cookies are not just your ordinary chocolate chip treats they are a delightful fusion of creativity and culinary delight. From the first bite, you’ll be enchanted by the perfect balance of sweet chocolate, buttery dough, and a hint of playful kitty cat charm. Whether you’re a seasoned baker or a novice in the kitchen, this recipe is sure to bring a smile to your face and warmth to your heart.
While chocolate chip cookies are a timeless favorite, adding a dash of whimsy with a feline touch elevates the baking experience to a whole new level. So, gather your ingredients, preheat your oven, and get ready to embark on a culinary adventure that will delight both young and old alike.
Join us as we dive into the magical world of Kitty Cat Chocolate Chip Cookies and discover how these adorable treats can brighten up any occasion, from cozy family gatherings to festive celebrations.
Why You’ll Love This Recipe
These Kitty Cat Chocolate Chip Cookies are more than just a delicious treat – they are a delightful experience that will captivate your taste buds and spark joy in your heart. Here’s why you’ll fall in love with this charming recipe:
First and foremost, these cookies are incredibly easy to make, making them perfect for both novice bakers and seasoned pros. The simple steps and readily available ingredients ensure that you can whip up a batch of these adorable treats in no time.
Furthermore, the combination of rich chocolate chips and buttery cookie dough creates a symphony of flavors that will leave you craving for more. The soft, chewy texture of the cookies adds to their irresistible charm, making them a favorite among kids and adults alike.
Moreover, these cookies can be customized to suit various dietary preferences, whether you prefer gluten-free options, vegan alternatives, or nut-free versions. With a few simple ingredient swaps, you can adapt this recipe to accommodate different needs without compromising on taste or texture.
Lastly, the playful kitty cat design of these cookies adds a touch of whimsy to any occasion, making them perfect for themed parties, birthday celebrations, or simply as a fun baking project with your loved ones. The joy of creating these adorable treats is matched only by the delight of sharing them with family and friends.
Ingredients
Before you embark on your baking adventure, gather the following ingredients to create your own batch of Kitty Cat Chocolate Chip Cookies:
– All-purpose flour
– Baking soda
– Salt
– Unsalted butter, softened
– Granulated sugar
– Brown sugar
– Vanilla extract
– Eggs
– Chocolate chips
– Mini chocolate chips (for decorating)
Optional Ingredient Substitutions:
– For a gluten-free version, use a gluten-free flour blend.
– To make vegan cookies, substitute butter with coconut oil and use flax eggs instead of regular eggs.
– If you have nut allergies, you can omit the nuts or use seeds like pumpkin or sunflower seeds for added crunch.
Step-by-Step Instructions
Follow these simple steps to create your own batch of Kitty Cat Chocolate Chip Cookies:
1. Preheat your oven to 350°F (180°C) and line a baking sheet with parchment paper.
2. In a medium bowl, whisk together the flour, baking soda, and salt. Set aside.
3. In a large mixing bowl, cream together the softened butter, granulated sugar, brown sugar, and vanilla extract until light and fluffy.
4. Add the eggs one at a time, mixing well after each addition.
5. Gradually stir in the dry ingredients until a soft dough forms, then fold in the chocolate chips.
6. Using a cookie scoop or spoon, portion out the dough and shape it into small balls. Place them on the prepared baking sheet.
7. To create the cat face design, gently press two mini chocolate chips into each cookie ball for the eyes and place a larger chocolate chip in the center for the nose.
8. Bake the cookies for 10-12 minutes or until golden brown around the edges. Allow them to cool on the baking sheet for a few minutes before transferring to a wire rack to cool completely.
Expert Tips for Success
For the best results when making Kitty Cat Chocolate Chip Cookies, consider the following expert tips:
– Ensure that the butter is softened but not melted to achieve the right cookie texture.
– Use quality chocolate chips for a rich and indulgent flavor profile.
– Do not overmix the dough to prevent tough cookies – mix until just combined.
– For a festive touch, sprinkle some colored sugar on top of the cookies before baking.
Variations and Substitutions
Get creative with your Kitty Cat Chocolate Chip Cookies by exploring these variations and substitutions:
– Add a sprinkle of sea salt on top of the cookies before baking for a sweet and salty contrast.
– Mix in chopped nuts like pecans or walnuts for an added crunch and nutty flavor.
– Experiment with different types of chocolate chips, such as white chocolate or dark chocolate, for a unique twist on the classic recipe.
– For a decadent treat, sandwich a scoop of ice cream between two cookies to create a delightful ice cream sandwich.
Serving Suggestions
Enjoy your freshly baked Kitty Cat Chocolate Chip Cookies in the following ways:
– Pair them with a glass of cold milk for a classic and comforting treat.
– Serve them alongside a scoop of vanilla ice cream for a decadent dessert experience.
– Package them in cute boxes or jars to give as homemade gifts for special occasions or holidays.
– Arrange them on a dessert platter with other sweet treats for a charming and whimsical presentation.
FAQs
Here are some common questions about Kitty Cat Chocolate Chip Cookies:
Q: Can I freeze the cookie dough?
A: Yes, you can freeze the cookie dough for up to 3 months. Simply shape the dough into balls, place them on a baking sheet to freeze, then transfer to a freezer-safe bag or container.
Q: How long do the cookies stay fresh?
A: The cookies can be stored in an airtight container at room temperature for up to 1 week. For longer storage, freeze the cookies and thaw as needed.
Q: Can I use different cookie cutters for the cat face design?
A: Absolutely! Get creative with different cookie cutters to make various animal shapes or fun designs.
Final Thoughts
As you embark on your baking journey with Kitty Cat Chocolate Chip Cookies, remember that the joy of baking goes beyond the delicious treats – it’s about creating memories, sharing laughter, and indulging in the simple pleasures of life. Whether you’re baking these cookies for a special occasion or simply to brighten someone’s day, the love and care you put into each batch will surely be appreciated.
So, roll up your sleeves, preheat your oven, and let the magic of baking unfold as you create these adorable and delectable Kitty Cat Chocolate Chip Cookies. From the first whisk of the flour to the final bite of a warm cookie, savor every moment and share the sweetness with those around you. Happy baking!
Kitty Cat Chocolate Chip Cookies
Experience the delightful fusion of creativity and culinary delight with Kitty Cat Chocolate Chip Cookies. These whimsical cookies feature a perfect balance of sweet chocolate, buttery dough, and a playful kitty cat charm, making them a favorite among both kids and adults.
Ingredients
- 2 1/4 cups all-purpose flour
- 1 tsp baking soda
- 1/2 tsp salt
- 1 cup unsalted butter, softened
- 3/4 cup granulated sugar
- 3/4 cup brown sugar
- 1 tsp vanilla extract
- 2 eggs
- 1 cup chocolate chips
- Mini chocolate chips (for decorating)
Directions
- Preheat the oven to 350°F (180°C) and line a baking sheet with parchment paper.
- Whisk together the flour, baking soda, and salt in a medium bowl. Set aside.
- Cream softened butter, granulated sugar, brown sugar, and vanilla extract in a large mixing bowl until light and fluffy.
- Add eggs one at a time, mixing well after each addition.
- Gradually stir in the dry ingredients to form a soft dough, then fold in the chocolate chips.
- Shape the dough into small balls and place them on the prepared baking sheet.
- Press mini chocolate chips into each dough ball for the eyes and place a larger chocolate chip in the center for the nose to create the cat face design.
- Bake for 10-12 minutes until golden brown around the edges. Cool on baking sheet before transferring to a wire rack to cool completely.